Rain World Watcher Map: Routes, Symbols & Spoiler-Safe Checks
A practical Rain World Watcher map guide for checking the next shelter, gate, branch, and map symbol while keeping The Watcher DLC discovery intact.

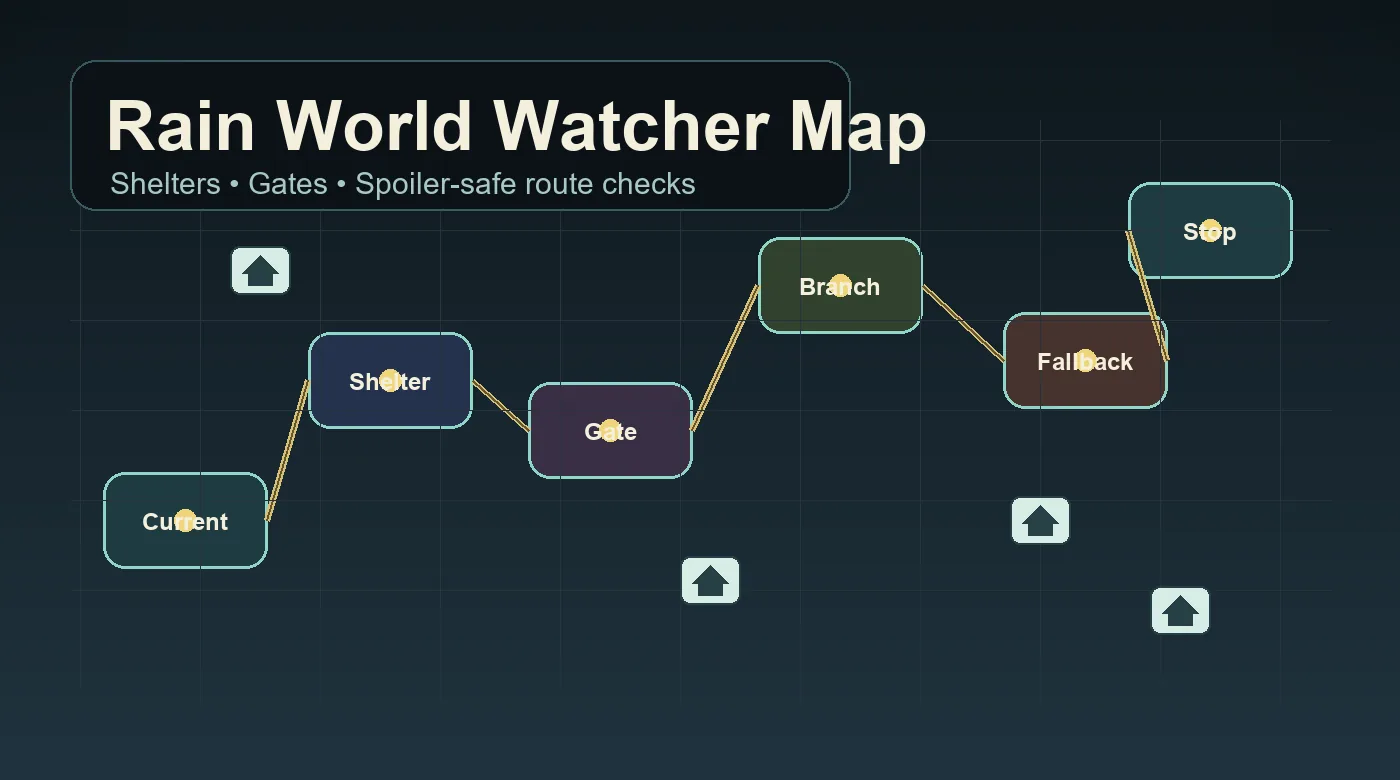
Table of Contents
The Rain World Watcher map works best as a focused route check, not a full-DLC spoiler sheet. Use it to identify your current region, the next shelter, the gate or transition you are testing, and one safe fallback. This guide keeps Watcher map reading separate from the broader Rain World interactive map so you can solve the next movement problem without scanning every future region.
What Watcher Map Searchers Usually Need First
A Watcher map query usually means one of three problems: you are lost in a new branch, you want to avoid major spoilers, or you need a safer shelter chain before the rain timer collapses. This guide keeps those needs separate so you do not over-read the whole DLC map.
Lost right now
Identify the current room family, nearest shelter, and one exit that returns to known terrain.
Spoiler control
Read only the current region and immediate transition instead of scanning late-region layouts.
Route confidence
Choose the branch with food, a shelter, and a fallback before chasing a distant landmark.
If your question is about all DLC campaigns rather than The Watcher specifically, use the Downpour map guide
Quick Answer: How to Use a Rain World Watcher Map
Open the Rain World Watcher map in four small checks: match your current region, find the nearest shelter, inspect the next gate or branch, and mark one fallback route. If you need exact room navigation, use the interactive map; if you need campaign-wide progression, use the progression guide.
Spoiler-safe Watcher map routine
Current region -> next shelter -> gate or branch -> one fallback -> stop reading
The Watcher map is most useful when it answers one immediate question. A full zoom-out can reveal late regions, symbols, and route assumptions before the campaign gives you a reason to see them.
Rain World Watcher Map Symbols: What to Check First
Watcher map symbols are decision aids. Start with shelter, gate, connection, hazard, and route markers; enable collectibles or deeper region labels only when they answer the next question.
- Shelter symbols show whether a route can end in saved progress.
- Gate and connection symbols show the next regional commitment.
- Hazard and blocked-route symbols help you reject a bad branch before spending a cycle.
Open the Rain World interactive map with only the needed layers then compare broader routing logic in the Rain World progression guide.
How to Read the Watcher Map Without Over-Spoiling
The best Watcher map workflow is narrow. Open the interactive map, search for the region or room you already know, then hide anything you do not need for the next cycle. This keeps the map useful as a route planner instead of turning it into a complete reveal of the DLC structure.
A good check answers four questions: where can I sleep, where can I eat, what transition am I testing, and how do I retreat if the route is wrong? If the map does not answer all four, you are not ready for a long push.
Start with shelters
Shelters are the only map markers that convert exploration into saved progress. Check them before region names or distant landmarks.
Read gates as commitments
A gate or transition is not just a doorway. It changes food access, creature pressure, and your ability to return before rain.
Limit full-map zooming
Zoom out only when choosing between two known route branches. Avoid tracing every future region before the campaign points you there.
Keep a fallback route
For Watcher exploration, one planned retreat path is more valuable than a long list of possible destinations.
Watcher Map Route Planning Table
The Watcher map is still being interpreted by many players, so this table focuses on decisions rather than pretending every route has one perfect answer. Use it as a checklist before each cycle.
| Step | Goal | Map check | Warning |
|---|---|---|---|
| 1 | Confirm your current region | Match visible terrain, shelter names, and nearby transitions before planning farther. | Starting from the wrong region makes every later route note unreliable. |
| 2 | Choose one route branch | Compare the nearest shelter chain, gate direction, and food access for each branch. | Two routes can look similar on a full map but differ sharply in cycle pressure. |
| 3 | Plan shelter-to-shelter movement | Mark the next shelter and one fallback shelter before entering unknown rooms. | A long route with no confirmed shelter is usually a failed exploration cycle. |
| 4 | Check gate and transition assumptions | Verify whether the passage is one-way, character-specific, or likely to force a detour. | Returning through a route may be harder than entering it. |
| 5 | Separate objective routing from collecting | Decide whether this cycle is for progress, scouting, food recovery, or optional discovery. | Mixing every goal in one cycle causes most avoidable deaths. |
| 6 | Stop reading when the next decision is clear | Close the map once you know the next shelter, gate, and retreat path. | Over-reading the map can spoil late-campaign structure without improving your next move. |
For exact room layouts and transitions, open the interactive Rain World map
Watcher Map vs Downpour Map: What Changes?
Players often approach The Watcher after learning Downpour routes, but the useful map questions are not identical. Downpour route guides often focus on character-specific objectives; Watcher planning puts more pressure on uncertainty, branch control, and spoiler management.
| Topic | Watcher planning | Map focus |
|---|---|---|
| Main question | Which unknown branch is safe enough to test next? | Current region, next shelter, fallback route, transition risk. |
| Spoiler risk | High if you study every future region at once. | Use local map checks and avoid full-route scanning. |
| Route confidence | Build confidence one cycle at a time. | Shelter chain first, objective second. |
| Best internal support | Pair with broader progression logic when lost. | Use the progression guide for route thinking, then the map for room-level checks. |
Shelter, Gate, and Objective Plan for The Watcher
Use this routine before any serious Watcher route attempt. It keeps your map reading focused on the next playable decision.
- Name the cycle goal: Decide whether the cycle is for reaching a shelter, testing a transition, finding food, or scouting a region edge.
- Check the closest shelter first: If no shelter is reachable after the next risky room, treat the route as a scout rather than a commitment.
- Compare food on both sides of a transition: A gate that leads to a food-poor area can trap you even when the map route is technically correct.
- Protect karma and time: Do not spend half a cycle reading map details while rain pressure grows. Prepare the route before moving.
- Review after each death: Use the map to diagnose the failure: wrong shelter target, bad food route, misunderstood transition, or overextended exploration.
Spoiler-Safe Watcher Map Checks
If you want help without full spoilers, set a clear boundary before opening the map. The goal is to answer the next navigation question, not to reveal every region name and possible ending path.
- Low spoiler: Check only your current region, nearest shelter, and the gate you can already see in-game.
- Medium spoiler: Compare two nearby transitions and decide which branch is safer for the next cycle.
- High spoiler: Zoom out to study the whole DLC route, late regions, and objective chain. Save this for when you are stuck or replaying.
- Best compromise: Read one route branch ahead, then stop. This preserves discovery while preventing repeated blind deaths.
Common Watcher Map Mistakes
- Reading the full map before playing: The Watcher rewards uncertainty. Full-route research can remove the tension without giving much practical cycle planning.
- Assuming old routes still solve everything: Base game and Downpour knowledge helps, but The Watcher needs fresh checks for transitions, shelters, and route purpose.
- Ignoring fallback shelters: A route that only works when everything goes perfectly is not a reliable Watcher route.
- Treating map access as safety: Knowing a path exists is different from being able to cross it with food, time, and karma intact.
- Mixing scouting and completion goals: When exploring a new DLC route, scout first. Push for objective progress only after the shelter chain is known.
Final Advice for The Watcher Map
The best Rain World Watcher map strategy is controlled curiosity. Use the map to make the next cycle playable: find the shelter, understand the transition, choose one branch, and keep a retreat path.
Once the next decision is clear, close the map and play. You will keep more of The Watcher's discovery intact while avoiding the most frustrating repeated deaths.
FAQ: Rain World Watcher Map
References and Further Reading
- Official store page for Rain World: The Watcher DLC - Rain World: The Watcher on Steam
- Community wiki context for The Watcher and related DLC terminology - The Watcher Wiki
- Use this page with the broader progression guide for route planning fundamentals - Rain World Progression Guide
Last updated: August 13, 2026