Rain World Shoreline Map Guide: Shelters, Gates & Moon Route
A practical Shoreline route guide for reading the region map, crossing water safely, finding shelters, reaching Looks to the Moon, and choosing the right exit toward Shaded Citadel, Garbage Wastes, or The Exterior.

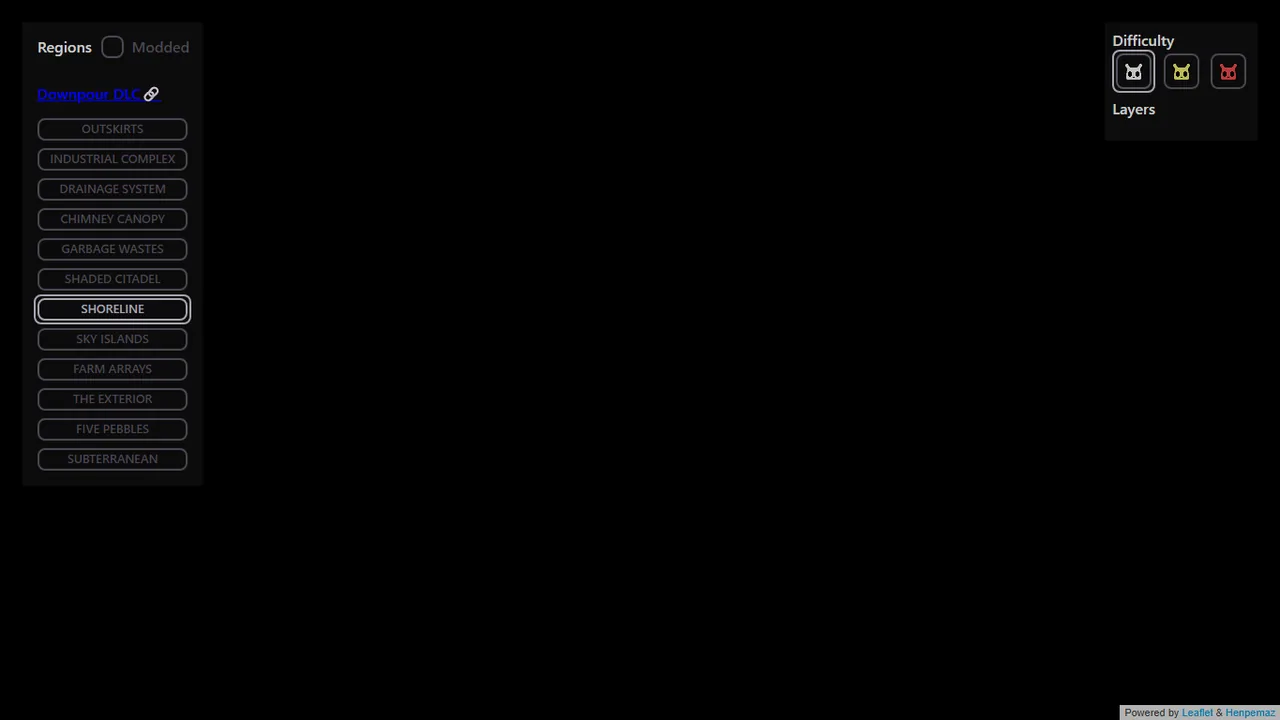
Table of Contents
The Rain World Shoreline map is one of the most useful region maps for a first full campaign because it sits between several major decisions. Shoreline can lead you toward Looks to the Moon, back toward Garbage Wastes, into Shaded Citadel, or onward toward the harder mid-game route. The region also changes how you read the map: dry-room thinking is not enough. You need to check water depth, swimming distance, shelter spacing, gate position, and whether a route leaves enough cycle time to recover if a leviathan, squidcada, or bad jump wastes a minute.
Quick Answer: Best Way to Use the Shoreline Map
For most first Survivor or Monk routes, use Shoreline as a controlled mid-game hub. Enter from Garbage Wastes or Shaded Citadel, identify the nearest shelter, visit Looks to the Moon only when you can return safely, then choose whether your next goal is Shaded Citadel, Memory Crypts, or The Exterior. Do not treat Shoreline as a single straight swim; plan it as short shelter hops across water-heavy rooms.
Practical Shoreline map workflow
Find entry gate -> mark nearest shelter -> scout Moon route -> return to shelter -> choose Shaded Citadel, Garbage Wastes, or The Exterior path -> leave with karma and food secured
Open the interactive map before a long crossing and check three layers: shelters, room connections, and exits. If your planned swim crosses several exposed rooms before the next shelter, spend one cycle scouting the first half instead of trying to force the entire route before rain.
How to Read the Rain World Shoreline Map
Start with your entrance side. Shoreline feels very different depending on whether you arrive from Garbage Wastes, Shaded Citadel, or a late-game connection. A route that is safe from one gate can be a frustrating loop from another, especially when you have low karma or do not know where the next shelter sits.
Then read the map by risk. Water rooms are not just empty space; they change movement speed, food timing, enemy avoidance, and whether you can turn around. Use the map to break Shoreline into two or three cycle-sized decisions rather than one region-sized guess.
Check shelters before exits
An exit is only useful if you can sleep before or after reaching it. Mark the shelter nearest your entrance, then the next shelter along the Moon or Citadel route.
Separate the Moon visit
Looks to the Moon is a story destination, not always the same cycle as your region exit. Plan a safe return unless you already know the water route.
Respect long swims
A room that looks short on the full map can cost a cycle when currents, predators, or missed poles slow you down.
Use gates as decisions
Garbage Wastes, Shaded Citadel, and exterior routes all answer different goals. Choose the exit that matches your campaign objective, not the first gate you find.
Shoreline Shelters, Gates, and Exit Checks
Use this table as a route-planning checklist when Shoreline is your current region. It is written for practical map use rather than room-by-room memorization.
| Step | Area | Purpose | Map check | Warning |
|---|---|---|---|---|
| 1 | Entry side | Confirm whether you entered from Garbage Wastes, Shaded Citadel, or another connection. | Trace the nearest shelter before checking distant exits. | Many Shoreline mistakes start with assuming every entrance has the same safe route. |
| 2 | First shelter hop | Turn the region from a blind swim into a saved checkpoint. | Pick one shelter reachable within a conservative cycle. | If you cannot name the shelter, do not commit to a long crossing yet. |
| 3 | Looks to the Moon route | Visit Moon while keeping enough time to retreat or sleep. | Mark the path to Moon and the return shelter separately. | Do not eat neurons if you want to preserve story context and avoid hostile consequences. |
| 4 | Shaded Citadel or Memory Crypts direction | Move toward the mid-game route after stabilizing Shoreline. | Check gate karma and the first shelter after the transition. | Dark routes are much worse if you enter late in the cycle or without light planning. |
| 5 | Garbage Wastes return | Retreat, recover karma, or reroute if Shoreline pressure is too high. | Confirm the return gate and food loop before backtracking. | Backtracking across water can be slower than the first crossing. |
| 6 | Late-game connections | Use Shoreline as part of a larger route only after you know the shelter chain. | Compare the next objective with your current karma and food state. | A full-map shortcut is not a shortcut if you arrive exhausted, starving, or blocked by a gate. |
For exact room layouts, water paths, and shelter positions, open the interactive Rain World map
Which Shoreline Route Should You Choose?
Shoreline supports several valid routes. Choose based on what you need now: story context, safer recovery, progression, or exploration.
| Route | Best for | Tradeoff | Map focus |
|---|---|---|---|
| Moon visit route | First campaign players who want story context and a clear landmark. | Requires safe water routing and enough time to return to shelter. | Moon path, nearest shelter, return route, water rooms. |
| Progression route | Players moving from Shoreline toward Shaded Citadel, Memory Crypts, and The Exterior. | More punishing if karma is low or light planning is missing. | Gate requirements, Citadel-side shelter, dark-region preparation. |
| Recovery route | Players who lost karma or need a familiar food loop before continuing. | Slower, but it prevents repeated deaths in unknown rooms. | Garbage Wastes return, safe shelter, food sources. |
| Exploration route | Players mapping pearls, side rooms, or alternate connections after a first clear. | Easy to waste cycles if every branch becomes a detour. | Optional rooms, pearls, alternate gates, backtracking shelters. |
Water, Food, and Shelter Plan for Shoreline
The Shoreline map becomes much more useful when you pair it with a simple cycle routine. Use this before every region transition or Moon visit.
- Start each cycle with a shelter target: Choose one reachable shelter before looking at the far side of the region. Shoreline punishes vague goals more than short scouting cycles.
- Treat water rooms as time costs: Swimming, climbing out, dodging predators, and correcting mistakes all consume cycle time. Add margin before committing to a long route.
- Visit Moon with a return plan: If you are going to Looks to the Moon for the first time, know whether you are returning to the same shelter or moving to a new one afterward.
- Check karma before Citadel or exterior exits: A visible gate can still waste a cycle if your karma is too low. Recover near known food and shelter before forcing the transition.
- Stop after one useful discovery: When you find a shelter, gate, or safe crossing, bank the progress. Shoreline often rewards saving information more than pushing one more room.
Common Shoreline Map Mistakes
- Trying to cross the whole region in one cycle: Shoreline is easier when treated as linked shelters, not as one long swim from entrance to exit.
- Visiting Moon too late in the cycle: The story destination feels close once you see it, but the return route can still take enough time to lose the cycle.
- Ignoring the entrance side: A route guide may describe the right region but the wrong side of that region. Always orient from your actual gate.
- Choosing Shaded Citadel without preparation: The Citadel direction can be correct, but darkness and gate pressure make it a bad blind transition.
- Using the full map as a spoiler dump: Reveal the next shelter and exit first. Save full-region scanning for replay routing or when you are truly stuck.
Final Advice for Using the Shoreline Map
A good Rain World Shoreline map route is a sequence of small commitments: reach a shelter, scout Moon, decide whether to exit, and keep enough karma to make the next gate matter. If you plan those decisions separately, the region becomes a readable hub instead of a confusing water maze.
Use the interactive map to answer the next cycle, not the entire campaign at once. Check your entrance, mark the nearest shelter, choose one route objective, and return to the game with a clear plan.
FAQ: Rain World Shoreline Map
References and Further Reading
- Rain World region connections and Shoreline context - Rain World regions reference
- Shoreline region background and related locations - Shoreline wiki reference
- Use this page with the broader route overview - Rain World progression guide
Last updated: June 18, 2026