Rain World Artificer Map Guide: Karma Gates, Echoes & Metropolis Route
A practical route guide for using the map as Artificer: how to plan shelters, handle karma gates, read scavenger-heavy regions, and reach Metropolis without turning the campaign into a spoiler dump.

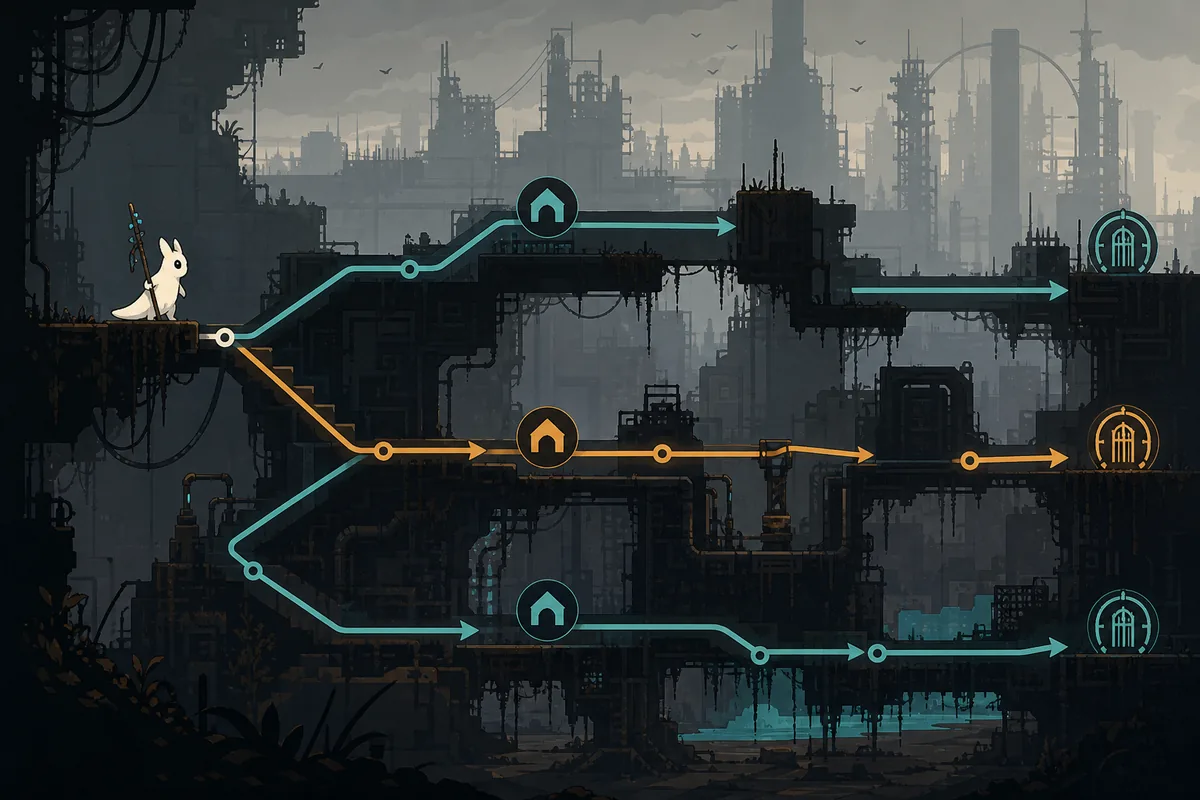
Table of Contents
The Rain World Artificer map problem is different from a normal Survivor route. Artificer has explosive movement, a hostile scavenger relationship, and a campaign that pushes you toward dangerous urban and exterior routes. A full map can help, but only if you use it to answer the next tactical decision: where to sleep, which gate or bypass is realistic, whether an echo route is worth the risk, and how far you should reveal before the next cycle.
Quick Answer: Best Artificer Map Workflow
Use the Artificer map in four passes. First, confirm your current region and the nearest shelter. Second, check whether the next gate needs echo planning or a scavenger bypass. Third, trace only one objective branch toward Metropolis or the next safe region. Fourth, stop reading once you know the next shelter and fallback path.
Practical Artificer route workflow
Current shelter -> next gate or bypass -> echo or scavenger risk check -> objective route -> fallback shelter -> play the cycle
This keeps the guide useful without flattening the campaign. Artificer can move aggressively, but the map should still be read shelter-first. If a route looks short but has no reliable hibernation point, treat it as a scouting cycle rather than a full commit.
How to Read the Artificer Map
Start by separating movement power from route safety. Artificer's explosive jumps can skip threats and open vertical lines, but they do not remove rain timing, food pressure, or gate requirements. On the map, a reachable room is not automatically a good route.
Then read each region through scavenger pressure. Routes that are neutral for Survivor can be hostile for Artificer because scavenger tolls, patrols, and combat spaces change the cost of crossing. Use the map to pick rooms with shelter access and escape options before chasing a distant objective.
Shelters first
Mark the shelter you can actually reach before checking far Metropolis or Exterior routes.
Gate logic second
Ask whether the gate is solved by current karma, echo planning, or a risky scavenger-related bypass.
Combat space matters
Wide rooms and vertical exits are more valuable than narrow corridors when scavenger pressure is high.
Limit spoilers
Reveal one branch ahead unless you are deliberately replaying or routing a challenge run.
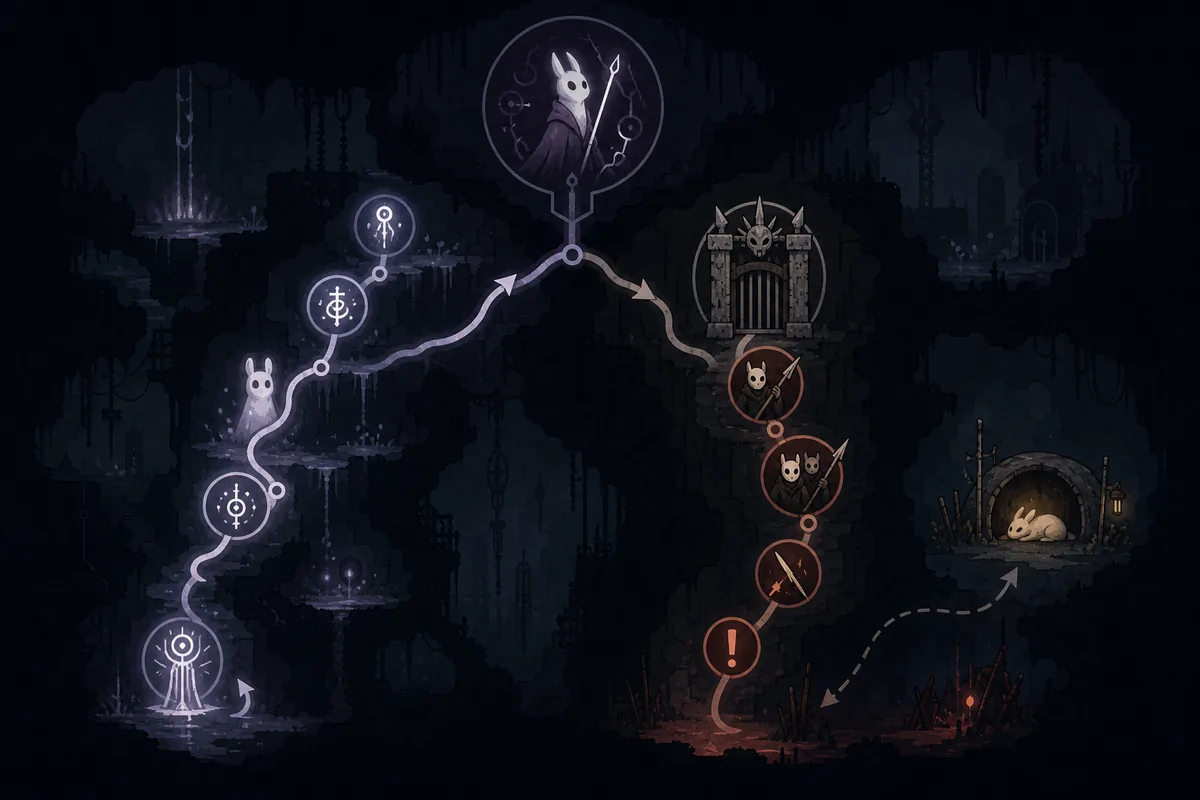
Artificer Karma Gates, Echoes, and Bypass Decisions
Artificer cannot rely on the same calm karma progression as Survivor. Before moving through a gate, decide which map problem you are solving: raising maximum karma with echoes, using a bypass, retreating to a safer loop, or delaying the gate until the next cycle.
| Decision | Use when | Map check | Risk |
|---|---|---|---|
| Echo planning | You need a more stable karma ceiling before major gates. | Check echo-adjacent regions, shelter spacing, and whether the route can be split across cycles. | Echo detours are safer when treated as dedicated cycles, not side errands. |
| Scavenger bypass | A gate problem is blocking an otherwise strong route. | Check where scavenger pressure appears before and after the gate. | Combat can solve access but may cost more time and health than expected. |
| Shelter reset | You reached the region but not the gate with enough margin. | Mark the nearest shelter and food loop before attempting the gate again. | Repeating the same long push without saving usually wastes karma. |
| Route delay | The next gate leads into a region you cannot survive yet. | Compare a safer branch, recovery loop, or objective preparation route. | Delay is often faster than dying at the same transition repeatedly. |
Artificer Route Planning Table
Use this checklist when choosing an Artificer route. It avoids claiming a single perfect path and instead focuses on what the map should answer at each stage.
| Stage | Goal | Map check | Warning |
|---|---|---|---|
| 1 | Stabilize the current region | Confirm shelter, food, and an escape route before chasing an objective. | Explosive movement can make overextension feel safe until rain timing catches up. |
| 2 | Identify the gate problem | Check karma requirement, echo options, bypass context, and the first shelter after the gate. | A passable gate is still bad if the next region has no safe first shelter. |
| 3 | Choose the combat route | Prefer rooms with vertical exits, cover, and retreat paths when scavengers are dense. | Narrow routes can trap you even if they look shorter on the full map. |
| 4 | Plan the Metropolis push | Split the approach into saved shelter hops instead of one long objective sprint. | Metropolis routing punishes vague entry and exit plans. |
| 5 | Bank progress | After finding a new shelter, gate, or route branch, decide whether to sleep instead of continuing. | Artificer rewards stored map knowledge; not every discovery needs the same cycle. |
For exact rooms, shelters, and transitions, open the interactive Rain World map
Metropolis and Late-Route Map Checks
Metropolis is the route section where Artificer map use becomes most valuable. The objective pressure is clear, but the safer path still depends on shelter spacing, vertical movement, and how much combat you can absorb before rain.
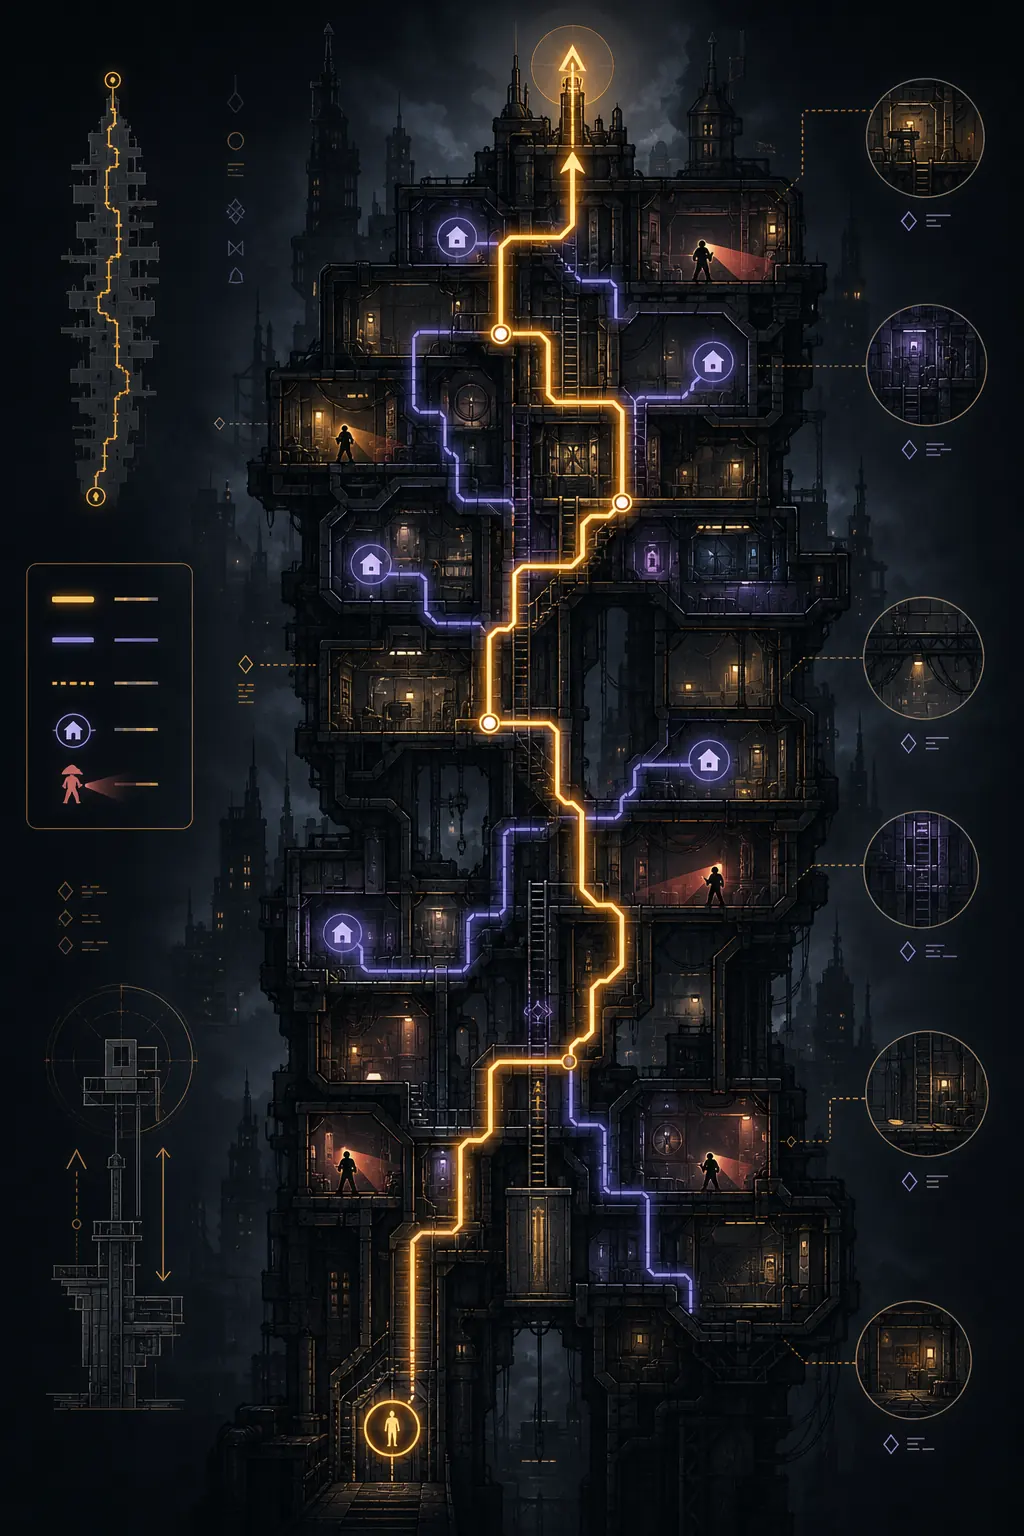
Use the map to decide three things before entering a dense urban branch: where the first safe shelter is, which vertical route gives a retreat option, and which rooms you should scout separately instead of forcing through on the same cycle.
Common Artificer Map Mistakes
- Using Survivor logic: Artificer routes are shaped by scavenger hostility and explosive movement, so a normal campaign path can be misleading.
- Checking objectives before shelters: A known objective does not matter if you cannot reach the next sleep point before rain.
- Treating every gate as a combat problem: Sometimes an echo route, recovery cycle, or delayed gate is more reliable than forcing a bypass.
- Over-reading the full campaign map: Full spoilers are useful for replay routing, but first-time Artificer planning works better one branch at a time.
- Ignoring the route after the gate: Always inspect the first shelter or fallback room beyond the transition, not only the gate itself.
Final Advice for Artificer Map Routing
The best Rain World Artificer map workflow is shelter-first and gate-aware. Find where you can sleep, decide whether the next transition is a karma, echo, bypass, or combat problem, then reveal only the route branch you are about to play.
When in doubt, bank progress. Artificer has powerful tools, but the map is strongest when it helps you survive one clearer cycle instead of planning the entire campaign at once.
FAQ: Rain World Artificer Map
References and Further Reading
- Official Rain World: Downpour page for Artificer campaign context - Rain World: Downpour on Steam
- Community context for Artificer abilities and campaign constraints - Artificer wiki reference
- Compare Artificer against the broader DLC route set - Rain World Downpour map guide
- Use general route fundamentals before specialized Artificer routing - Rain World progression guide
Last updated: June 23, 2026