Rain World Looks to the Moon Map Guide: Spearmaster Route & Return Plan
A focused route guide for the Spearmaster campaign: identify the Looks to the Moon approach, check shelters before entering, plan the visit, and leave with a safe next objective instead of getting lost in Shoreline.


On this page
Searching for a Rain World Looks to the Moon map usually means one of two things: you are following Spearmaster's campaign and need to reach the Moon facility, or you reached the area and cannot tell which shelter, gate, or exit should come next. A full interactive map can answer both questions, but it can also reveal far more of the campaign than you want. This guide keeps the boundary narrow: use the map to plan the approach, the visit, and the return route, then stop exploring the late-game path until you are ready.
Quick answer: plan the visit as a three-part route
For Spearmaster, the practical map logic is not simply “go to Shoreline.” Start from your current objective, identify the Shoreline-side entrance that matches your campaign route, and choose a shelter that lets you recover before the final approach. Then use the map to confirm the Looks to the Moon destination and the route back out.
Route logic
Five Pebbles objective → Shoreline approach → Looks to the Moon visit → return shelter → next campaign objective
The exact room sequence can vary with your entry point, creature pressure, and campaign state. The reliable rule is to check one region transition and one shelter at a time. If you only need the exact room layout, open the interactive map; if you need to know why the route matters, use the Spearmaster guide alongside this page.
What the Looks to the Moon map query means
Looks to the Moon is a named campaign destination, not a replacement for the entire Rain World map. The search phrase often appears alongside Spearmaster because the campaign changes the reason for visiting, the state of the facility, and what you should carry or protect before the trip. That is why a generic Shoreline answer can feel incomplete.
Use this page for route decisions and the interactive map for exact rooms. Keep the distinction clear: the map shows geometry, while the guide explains which information is useful now and which information is better left hidden until the next objective is clear.
Spearmaster target
The page is written for the Spearmaster campaign and its Moon-related objective. Other slugcats may share region names but should not inherit every route assumption.
Not a full-map replacement
The dedicated page answers a destination question. Use the site home map when you need room layouts, shelter positions, gates, pearls, or a cross-region comparison.
Decision before detail
Choose the next shelter and transition first. Only then reveal collectibles, optional branches, and late-route information that can spoil the campaign.
Rain World Looks to the Moon route checklist
Use the following table as a pre-cycle checklist. It is intentionally broader than a room-by-room walkthrough so it remains useful when you enter from a different shelter or need to retreat.
| Step | Main focus | Map check | Why it matters |
|---|---|---|---|
| 1. Confirm the objective | Pearl, visit, or return goal | Mark the current region and the destination-side transition | A route without a campaign objective creates unnecessary backtracking. |
| 2. Choose the approach | Shoreline entry and water crossing | Find the nearest viable shelter before the facility | The shortest line may cross exposed water or leave no recovery point. |
| 3. Secure the cycle | Food, shelter, and hands | Check one rest point and one fallback room | Spearmaster's objective can become harder if the pearl or a needed item is dropped during combat. |
| 4. Visit Moon | Facility entrance and interaction | Reveal only the rooms needed for the approach and exit | A narrow reveal preserves discovery while still preventing a blind detour. |
| 5. Leave deliberately | Return path and next region | Mark the exit, return shelter, and next objective | Finishing the visit is not the same as finishing the route. |
For exact room geometry, open the Rain World interactive map
How to read the map without over-spoiling Spearmaster
The most useful layers for a first Looks to the Moon visit are shelters, region exits, karma gates, and the immediate route line. Collectibles and every optional connection can wait. If the map has a character filter, keep Spearmaster selected so you do not accidentally plan around a route that belongs to another campaign.
Read the map from the player outward: current room, next shelter, next transition, destination, then fallback. Do not start by zooming out to the whole world. A full view is valuable for planning long-distance progression, but it is a poor first answer when the immediate problem is surviving one cycle with a pearl or objective in hand.
Layer 1: safety
Show shelters, food access, and the nearest recovery point. This answers whether the next move is survivable before it answers whether it is fast.
Layer 2: direction
Show gates and region exits. Confirm which transition is actually connected to your destination instead of following a visually open corridor.
Layer 3: objective
Show the Moon destination, pearl-related checks, or the next campaign marker only after the approach is stable.
Layer 4: optional detail
Reveal echoes, pearls, arena tokens, and side rooms on a later pass. These layers are useful for completion, not for solving the first route decision.
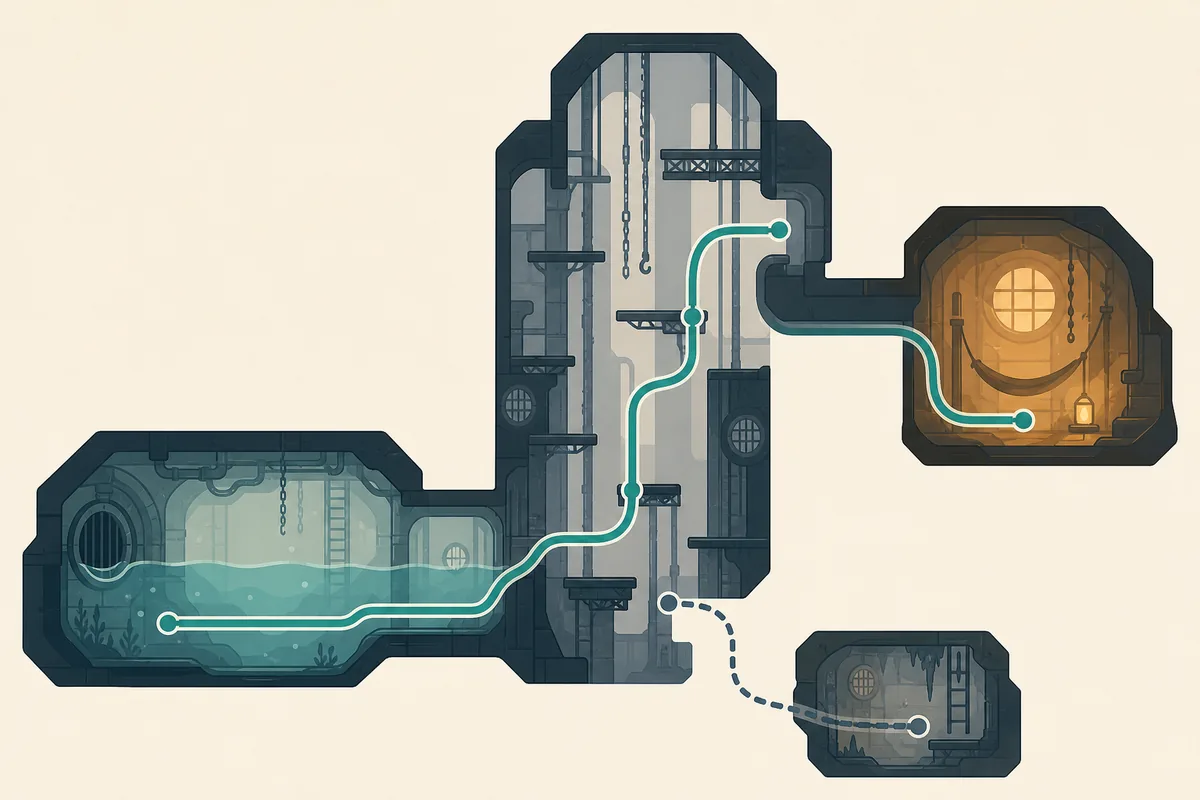
Shelter and return planning after the Moon visit
A common mistake is to treat the Moon visit as the finish line. In a Spearmaster run, the return can be the more important part because the campaign objective may require you to carry information, a pearl, or a changed route into the next region. Build the return plan before you enter the facility.
- Mark the last safe shelter: Use a shelter you can reach without crossing the most dangerous rooms again. If the return route is longer than the approach, reserve food and time for it before beginning the visit.
- Keep one fallback: Choose a nearby room or branch that still leads to safety if predators, water timing, or a missed jump closes the preferred line.
- Separate visit from delivery: Do not assume that reaching Moon completes every pearl or campaign requirement. Re-read the Spearmaster objective and confirm what must be carried to the next destination.
- Use the region guide for the exit: If the next move is still inside Shoreline, use the Shoreline guide for water routes and exits. If the objective points back toward the main campaign, use the progression guide instead of scanning unrelated regions.
- Stop when the decision is solved: Once you have the next shelter and transition, close the map. Returning to discovery mode keeps the page useful without turning the campaign into a checklist.
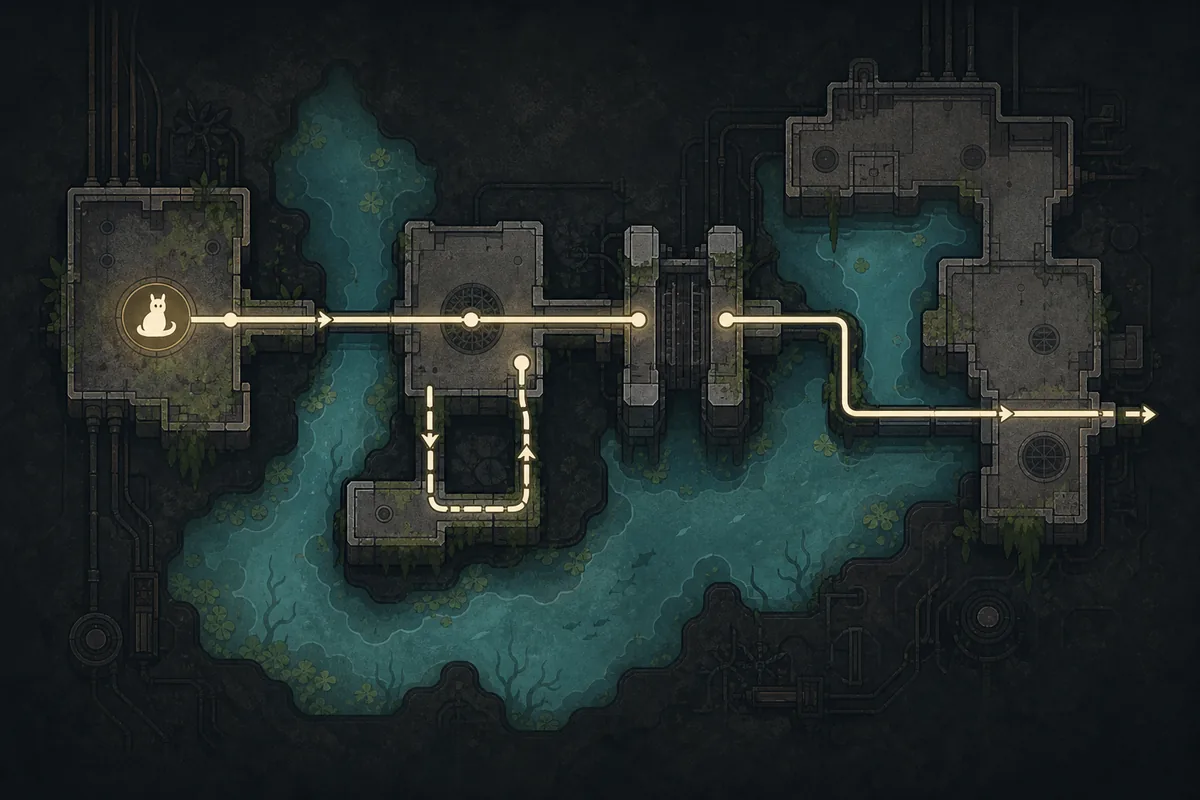
Spoiler-safe map settings
A map is most helpful when it gives you the next answer and hides the answers you are not ready to know. These settings keep the Looks to the Moon search focused on navigation rather than turning the whole Spearmaster campaign into a route reveal.
- Reveal the current region first: Start with the approach and nearby shelters. Do not open every late-game region just because the tool makes it possible.
- Hide collectibles on the first pass: Pearls, echoes, and tokens are useful completion layers, but they can pull you away from the Moon objective and expose optional story context.
- Keep one exit visible: A single fallback is enough. Showing every connection makes the map look safer than the actual cycle and can encourage unnecessary detours.
- Use the guide for context: When a symbol or campaign branch is unclear, read the relevant paragraph instead of searching the entire map for an answer that may spoil a later route.
Common Looks to the Moon map mistakes
- Confusing the destination with generic Shoreline: Shoreline is the approach context, but the Spearmaster objective is the reason for the trip. A Shoreline-only route can stop before the important visit or send you toward the wrong exit.
- Planning only the shortest path: A short route with no shelter is usually worse than a longer route with a reliable rest cycle. Count recovery points, not just rooms.
- Carrying the objective through every fight: When a pearl or key item matters, identify rooms where you can safely set it down before combat. The map should reduce hand-management risk, not merely show distance.
- Revealing the full campaign too early: The full map is useful for veterans and completion runs, but a first visit benefits from a narrow view. Hide late branches until the next objective demands them.
- Stopping after reaching Moon: The return shelter and next transition are part of the route. If you close the map at the destination, you may solve the search query but still lose the cycle.
Bottom line
The best Rain World Looks to the Moon map workflow is deliberately small: confirm the Spearmaster objective, plan the Shoreline-side approach, mark a shelter, reveal the Moon destination, and keep one return path visible. That is enough to solve the immediate route without replacing the discovery that makes the campaign memorable.
Use the interactive map for exact rooms and this guide for route judgment. If your question is about the larger pearl campaign, open the Spearmaster guide; if you are still solving water crossings and exits, use the Shoreline guide next.
FAQ: Rain World Looks to the Moon Map
References and related guides
- Official Rain World game listing - Steam
- Community-maintained Looks to the Moon background and map notes - Rain World Wiki
- Full Spearmaster campaign route and pearl objective - Spearmaster map guide
- Shoreline water routes and Moon approach context - Shoreline map guide
Last updated: August 2, 2026