Rain World Gourmand Map Guide: Food, Route & Campaign Goals
A practical Rain World Gourmand map guide for food quests, crafting stops, shelters, region choices, and spoiler-light campaign routing.

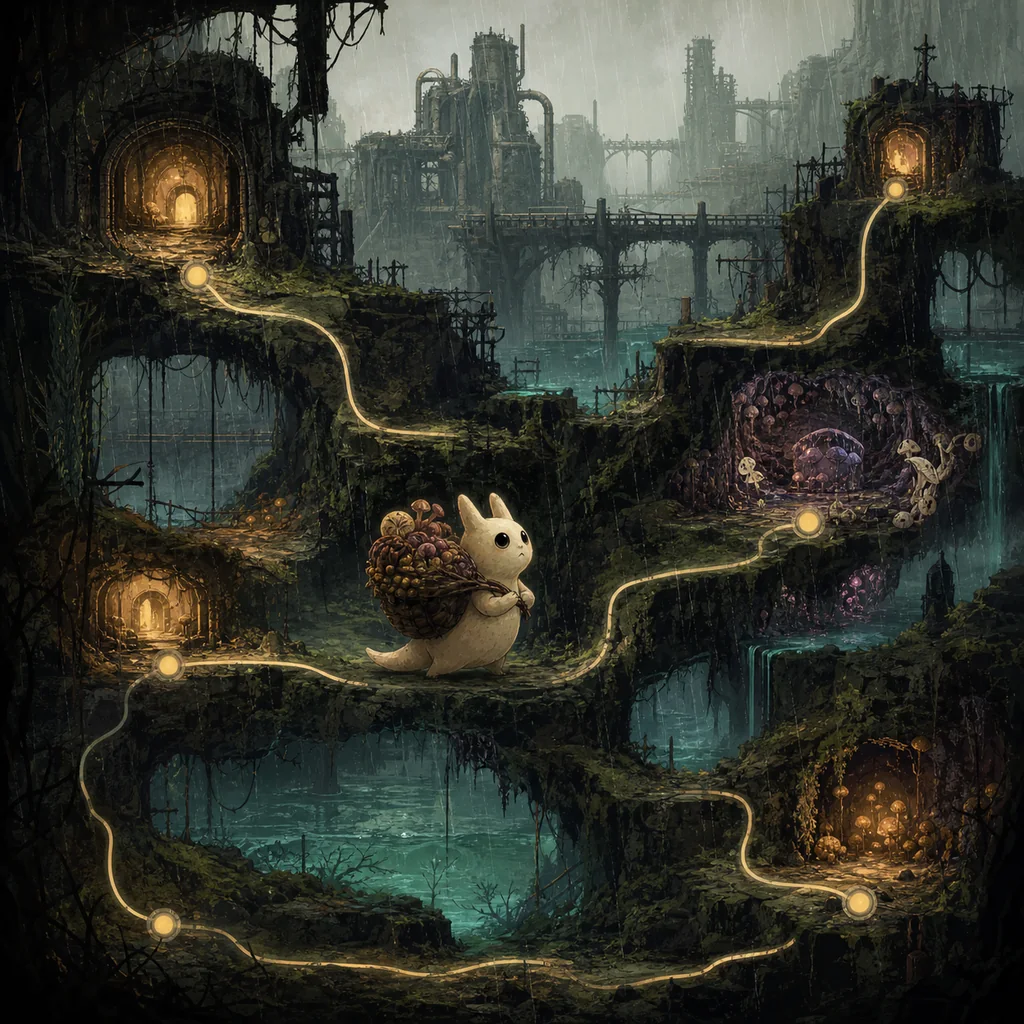
Table of Contents
The Rain World Gourmand map question is usually not just where to go next. Players also need to know which food objective matters, whether a crafting detour is worth a cycle, where the next reliable shelter sits, and how the route changes when Gourmand cannot simply copy Survivor's priorities. This guide keeps those decisions together. It explains how to use the full map without turning the campaign into a spoiler dump, how to read food and shelter information, and when to open a region-specific page such as the Downpour or Five Pebbles guide.
Quick Answer: Best Gourmand Map Workflow
Start with the current shelter and the next campaign objective, then use the map to find one food source, one reachable hibernation point, and one fallback route. Gourmand can create useful items, but crafting only helps when the route still leaves enough food and time to sleep. Treat each cycle as a small route rather than trying to solve the entire campaign from the full-map view.
Practical Gourmand route loop
Current shelter -> food or crafting objective -> next transition -> reliable shelter -> fallback branch -> review the next cycle
If you are asking where to go as Gourmand, first separate the campaign goal from optional collection. A long food quest or crafting stop can be the correct direction, while a short-looking shortcut can be a poor choice if it leaves no shelter after the gate. The interactive map is best used to confirm the next decision after this route loop is clear.
How to Read the Rain World Gourmand Map
Use the Gourmand map in four passes. First, locate your current region and the closest shelter you can realistically reach. Second, identify the food, item, or campaign objective that gives the cycle a purpose. Third, check the transition ahead for gate requirements, water, vertical movement, or creature pressure. Fourth, reveal one fallback shelter instead of every branch beyond the destination.
This approach keeps a full Rain World map useful without making every route feel predetermined. Gourmand's campaign rewards preparation, but preparation is not the same as carrying every possible item. Keep the map focused on the next safe sleep, the next useful resource, and the next route decision.
Food first
Check whether the next route has enough reliable food for the intended shelter, especially before long transitions or difficult climbs.
Shelter second
Mark the next hibernation point and a fallback before you chase a distant objective or leave a familiar region.
Crafting with a purpose
Use a crafting stop when the item solves a real route problem; do not add a detour simply because the map shows more ingredients.
Spoilers stay local
Reveal the current region, the next gate, and one exit branch first. Zoom out further only when the campaign objective requires it.
Gourmand Food Quest and Crafting Plan
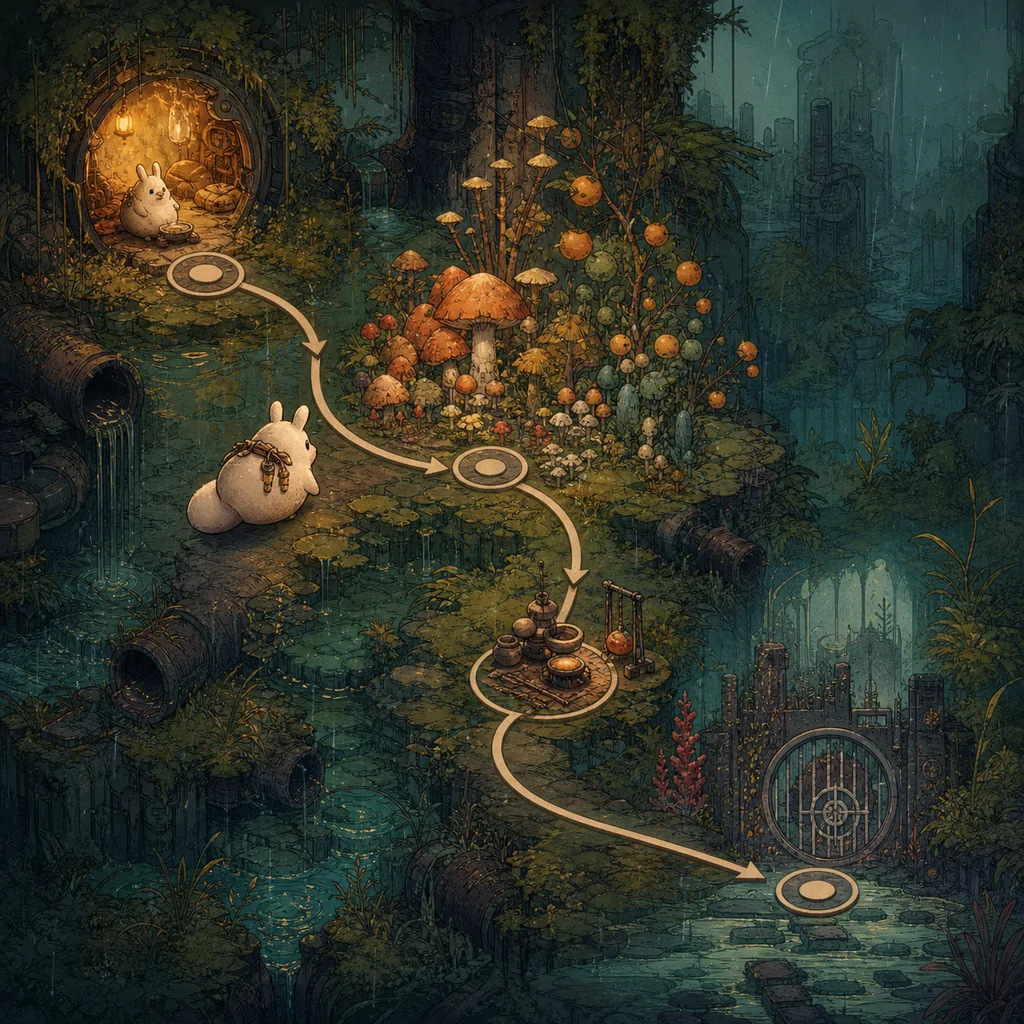
Food is part of the route, not a separate checklist. Before moving toward a new region, ask what the map can tell you about food access, shelter spacing, and the return line. A route with many ingredients may still be bad if the ingredients are spread across exposed rooms or if crafting makes you miss the next safe hibernation window.
| Stage | Goal | Map check | Risk |
|---|---|---|---|
| 1. Stabilize | Reach a known shelter | Mark food nearby and confirm a short return route before exploring farther. | A promising detour can become a lost cycle when the return line is not visible. |
| 2. Gather | Collect only useful resources | Compare ingredient distance with the next shelter and the campaign objective. | Over-collecting can spend the cycle without improving the route. |
| 3. Craft | Solve a specific obstacle | Check whether the crafted item helps with the next gate, predator, climb, or transition. | Crafting is not automatically progress if it delays hibernation. |
| 4. Commit | Move toward the objective | Trace one route to the next region and keep a fallback shelter visible. | Do not begin a long push with no food or shelter margin. |
Gourmand Route Planning Table
Use this table when the full map shows too many possible paths. The correct Gourmand route is usually the one that keeps the objective, food plan, and next shelter aligned, not the one with the fewest room transitions.
| Stage | Goal | Map check | Warning |
|---|---|---|---|
| Opening route | Learn the current region | Find two shelters, nearby food, and the safest exit before collecting optional items. | Copying a Survivor route can ignore Gourmand's resource and movement priorities. |
| Food objective | Build a useful stock | Keep the food source, crafting location, and sleep point in one readable loop. | Do not treat every visible ingredient as part of the main route. |
| Region transition | Cross one gate or connection | Check karma, water, vertical difficulty, creature pressure, and the first shelter after the transition. | A gate is only half the route; the rooms after it decide whether the push is safe. |
| Campaign goal | Follow the intended objective | Reveal the objective branch and one fallback rather than the entire late-game map. | Too much map information can remove useful discovery and make optional routes look mandatory. |
| Cycle review | Bank progress | After a new shelter or discovery, decide whether sleeping is better than continuing. | Gourmand can carry more possibilities than one cycle can safely use. |
For exact rooms, shelters, and transitions, open the interactive Rain World map
Late-Campaign and Outer Expanse Map Checks
When the route moves toward late Downpour regions or Outer Expanse, map distance becomes less useful than route margin. Look for the first safe shelter beyond the transition, a food source that does not require a dangerous backtrack, and a branch that lets you recover if the main push fails. The map should answer those three questions before it shows every optional destination.

For Outer Expanse or another unfamiliar Downpour branch, start from the campaign objective and work backward to a shelter you already understand. If the route requires several uncertain transitions, split it into scouting and commitment cycles. This is also the point where the general Downpour map guide and the interactive map become useful companions: one explains the campaign boundary, while the other confirms the exact room connections.
Common Rain World Gourmand Map Mistakes
- Following Survivor by default: The same region order can hide Gourmand's food, crafting, and campaign-specific decisions. Use Survivor as context, not as a complete route.
- Ignoring the next shelter: A full map can make a distant objective look close. Always mark where you can sleep after the next transition.
- Crafting every time ingredients appear: A recipe is useful only when it solves the next route problem or creates a meaningful safety margin.
- Planning by distance alone: Water, vertical movement, food pressure, and creature encounters can make a short route harder than a longer shelter chain.
- Revealing the whole campaign: Use spoiler-safe layers and one branch ahead when learning Gourmand. Save full-map planning for replay, completion, or route comparison.
Final Advice for Using a Gourmand Map
The best Rain World Gourmand map workflow is simple: choose the next objective, locate food that supports it, mark the next shelter, and keep one fallback route visible. Crafting can expand your options, but it should serve the route rather than replace it.
When you are unsure where to go as Gourmand, return to the current shelter and ask which single discovery would make the next cycle safer. Then use the interactive map to verify that decision. That keeps the campaign readable while still giving you the exact region, gate, and shelter information you need.
FAQ: Rain World Gourmand Map
References and Further Reading
- Official Downpour page for campaign context - Rain World: Downpour on Steam
- Community reference for Gourmand abilities and campaign terms - Gourmand wiki reference
- Compare Gourmand with the wider DLC route set - Rain World Downpour map guide
- Use the broader region-order guide when the campaign goal is unclear - Rain World progression guide
- Open exact rooms, shelters, and region connections - interactive Rain World map
Last updated: August 6, 2026