
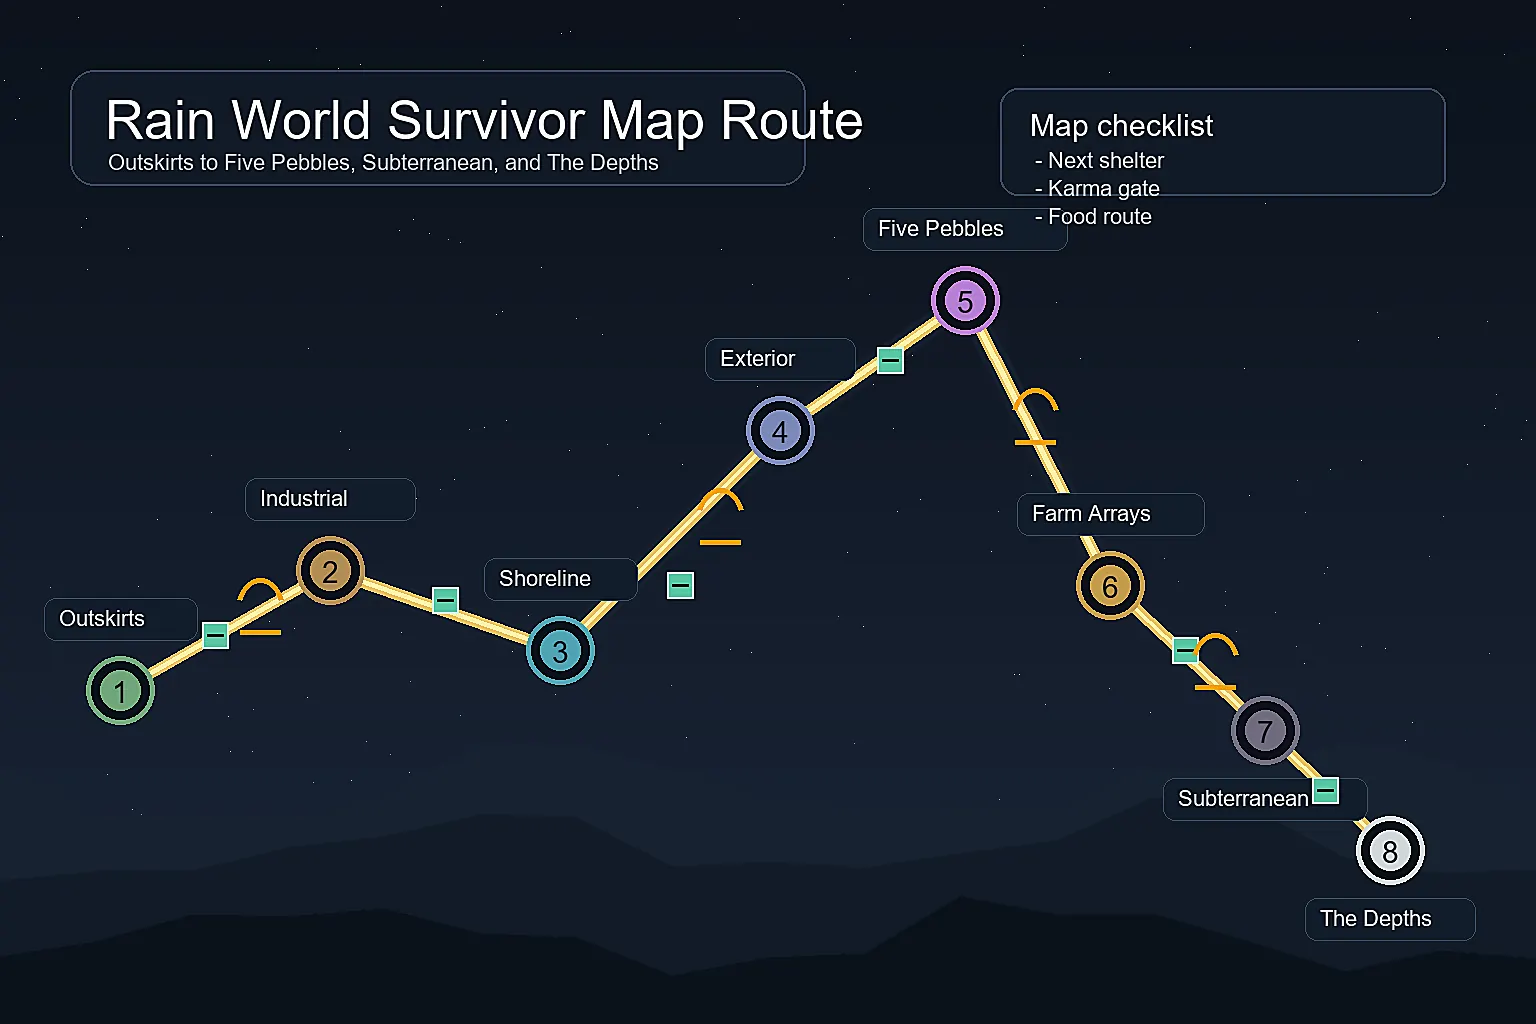
The Rain World Outskirts map is most useful when it answers one immediate question: what can I safely reach before the next hibernation? Outskirts is an early region, but its connections, gates, food, shelters, and optional discoveries can make a short trip feel much longer. This spoiler-light guide explains how to read the region view and turn it into a flexible plan. The diagrams are editorial aids, not exact room maps. Use the linked interactive map for room-by-room connections and select the campaign you are actually playing.
What a Rain World Outskirts map can answer
A useful Outskirts map helps you orient yourself, compare nearby exits, and find a manageable route between a known entrance and a shelter. It should also help you distinguish the main route from optional branches, collectible searches, and paths that depend on a particular campaign. A region overview is a planning aid, not a promise that every player will use the same room sequence.
Rain World can present different route choices as you change slugcat, campaign, version, or map layer. A name on the world map does not tell you whether a particular passage is open in your current run. For exact room links, shelter locations, and gate markers, use the interactive map as the source of truth and treat this page as a way to decide what to check first.
How to read the Rain World Outskirts map
Start with room connections and the region boundary. Trace only one candidate branch at a time, then locate the next shelter before following it. This keeps a confusing tangle of passages from turning into an unplanned multi-cycle expedition. If the map offers campaign or slugcat layers, select the one that matches your save before you compare routes.
Next, add shelters and karma gates to the view. A shelter gives the route a realistic stopping point; a gate changes whether an exit is usable now or later. Item, pearl, creature, and lore markers are useful after you know where you can sleep and how you can leave. Turning on every layer at once can hide the path you are trying to understand.
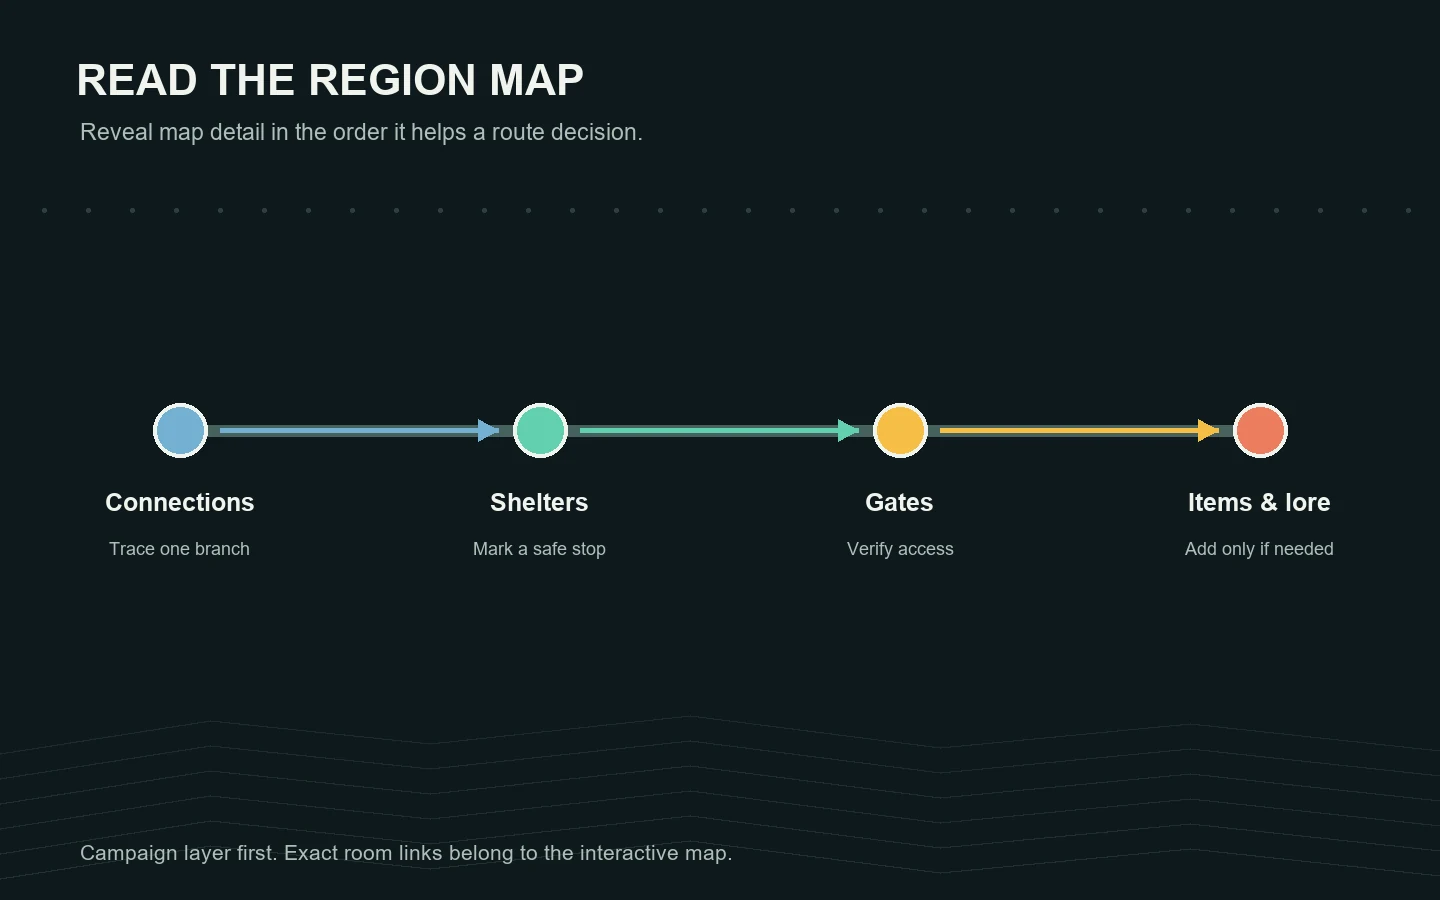
The diagram below is a reading order, not a literal map. Use it to simplify the live map, then verify each connection and marker in the interactive source before you make a long crossing.
- Connections: Find your current room and trace one possible exit.
- Shelters: Mark the next safe stopping point and a fallback.
- Gates: Check the requirement and confirm it for your campaign.
- Optional markers: Add items or lore only when they support your goal.
Plan an Outskirts route one cycle at a time
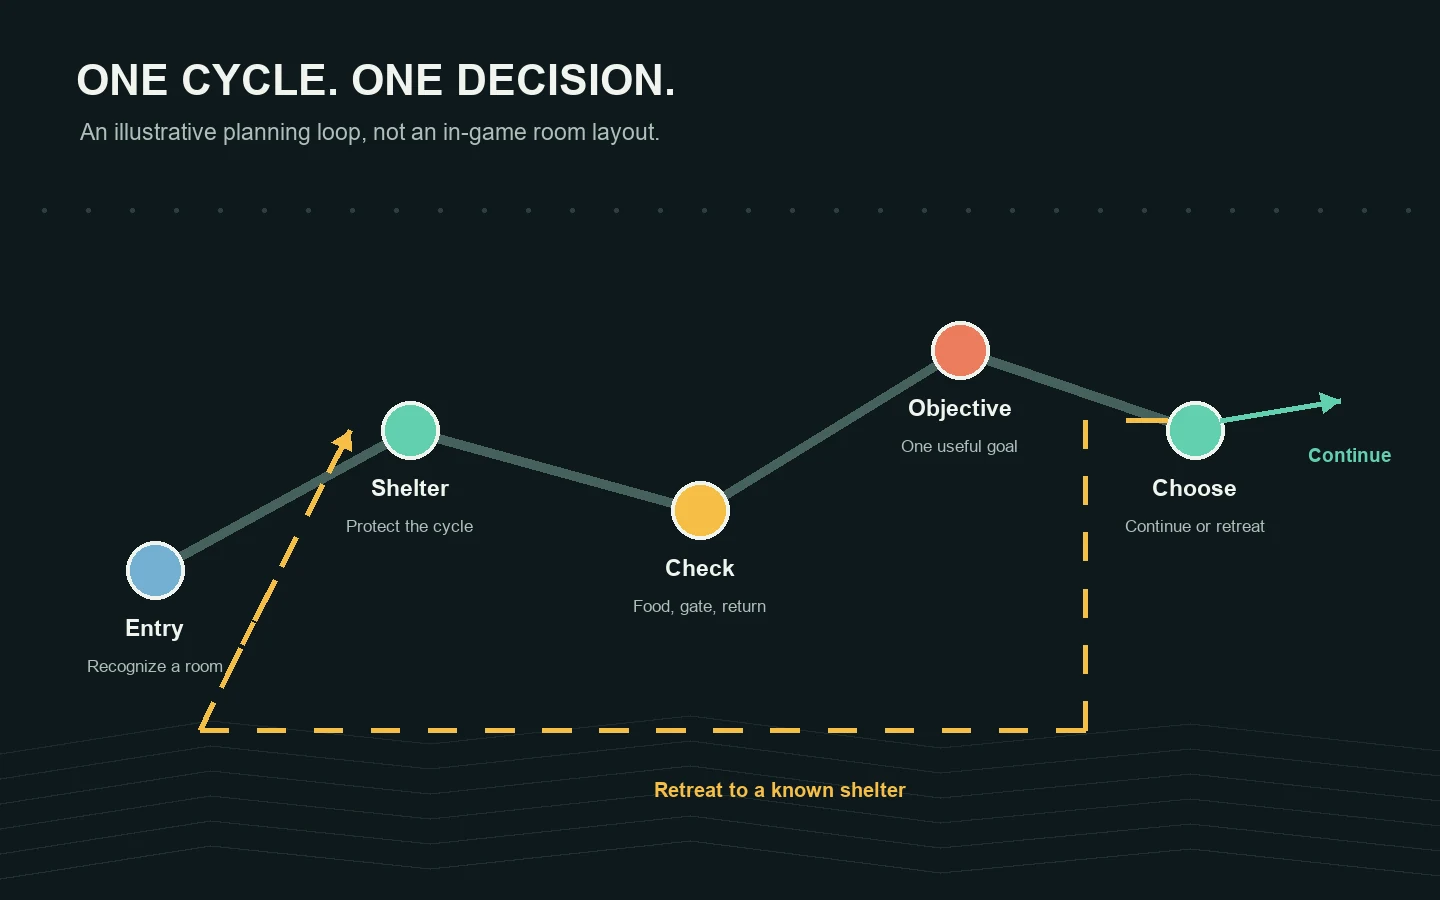
Before leaving a known area, choose one reachable objective: locate a shelter, confirm an exit, learn a nearby loop, or collect one item. A single objective makes it easier to decide when to turn around. If the route needs two uncertain jumps, an unexplored pipe, and a gate check, split it into scouting and travel rather than attempting everything in one cycle.
For a first Survivor run, the local guide's broader progression advice commonly points toward Industrial Complex as an early onward goal. That is useful context, not a compulsory order. If your campaign or current map shows another available connection, compare the shelter chain and gate state before choosing. A short detour can be sensible when it gives you food, a better return path, or a clearer view of the region.
- Set a stop: Identify the next shelter or a safe route back to one.
- Check the cost: Account for food, hazards, gate requirements, and uncertain rooms.
- Choose a branch: Follow one objective and postpone unrelated markers.
Use Outskirts shelters as route anchors
A shelter is more than a dot on the Rain World Outskirts map: it divides a region into portions you can attempt, review, and retry. Before a long passage, find the shelter on the far side and work backward to the rooms you need to cross. Then look for a nearby alternate path or a way to return if the exit is blocked, the terrain is unfamiliar, or the cycle is nearly over.
Do not assume the closest shelter is automatically the best destination. A slightly longer route may be easier to read, while a direct path may contain a hazard or a gate that changes your plan. Use the map to compare the full approach and the return, not just the distance between two markers. If the shelter location is unclear, reveal the shelter layer and verify it against your active campaign before you commit.
Check karma gates and neighboring regions
Outskirts sits near several important branches in the connected world. The common Survivor route often uses the Industrial Complex connection; the region inventory also associates Outskirts with Drainage System, Farm Arrays, and campaign-specific Downpour routes. Treat that as a shortlist to investigate, not as a guarantee that every connection is available in every save or campaign.
When you find a gate, check its marker, the current karma shown by the game, the requirement for that passage, and the nearest shelter on both sides. A locked gate can still be a useful landmark, but it should not be the only plan for a cycle. If you cannot meet its condition, trace another route or use the time to stabilize food and shelter progress. Confirm route details in the matching campaign layer because world-map diagrams can combine routes that are not simultaneously usable.
Match the map to your slugcat and campaign
The best Rain World Outskirts map view depends on what you are playing. Survivor and Monk are useful reference points for early-region orientation, while Hunter and Downpour slugcats can change the relevant goal, pressure, or accessible content. The map may also include layers for items or creatures that are not helpful for a simple exit search. Choose the correct campaign first, then add only the markers that answer your question.
Use campaign-aware language when planning: say that a route is available in the selected map rather than claiming it is universal. When returning after a long break, re-check the active slugcat and game content before relying on an older note. This avoids confusing a general region diagram with a route that belongs to another campaign, expansion, or mod.
Handle the Toll, pearls, and optional finds
The Outskirts Toll and nearby collectible questions can pull a route away from its main objective. If you are looking for a pearl, reveal the item layer, filter or inspect the marker that matches the current campaign, and confirm the room in the interactive map before entering a risky branch. A broad region overview is not precise enough to promise an exact room or item position.
Decide whether the find is optional before you leave a safe point. If your immediate goal is simply to reach the next region, record the collectible for a later trip and keep the route short. If the pearl is the purpose of the run, plan a shelter and return route around it, then check the marker again before crossing. The map should reduce uncertainty, not persuade you to search every visible symbol at once.
Recover when the route stops making sense
If you become lost, stop adding new objectives. Reopen the map, identify one landmark or room you recognize, and trace the nearest known connection back to a shelter. Compare the room you are in with the selected campaign layer; a wrong slugcat or hidden layer can make the correct path appear missing. If the game and map disagree, trust what is accessible in the current game and check the source settings again.
After a failed crossing, update the plan instead of repeating it unchanged. Note whether the problem was food, a hazard, a gate, an unclear exit, or a missed shelter. Shorten the next attempt to one verified section and keep a retreat visible. This recovery loop works for a first visit and for a return trip after a death, when the map may still be familiar but the immediate conditions are different.
Rain World Outskirts map FAQ
Map references
- Room connections, shelters, gates, and campaign layers - Rain World Interactive Map
- Community-maintained region reference - Rain World Wiki: Outskirts
- Broader route context for a first Survivor run - Rain World Survivor map guide
Last updated: September 28, 2026
Open the interactive Rain World map