Rain World Shaded Citadel Map Guide: Routes, Light and Memory Crypts
A spoiler-conscious route plan for reading the dark region, securing a light source, and reaching the correct exit without wasting every cycle.

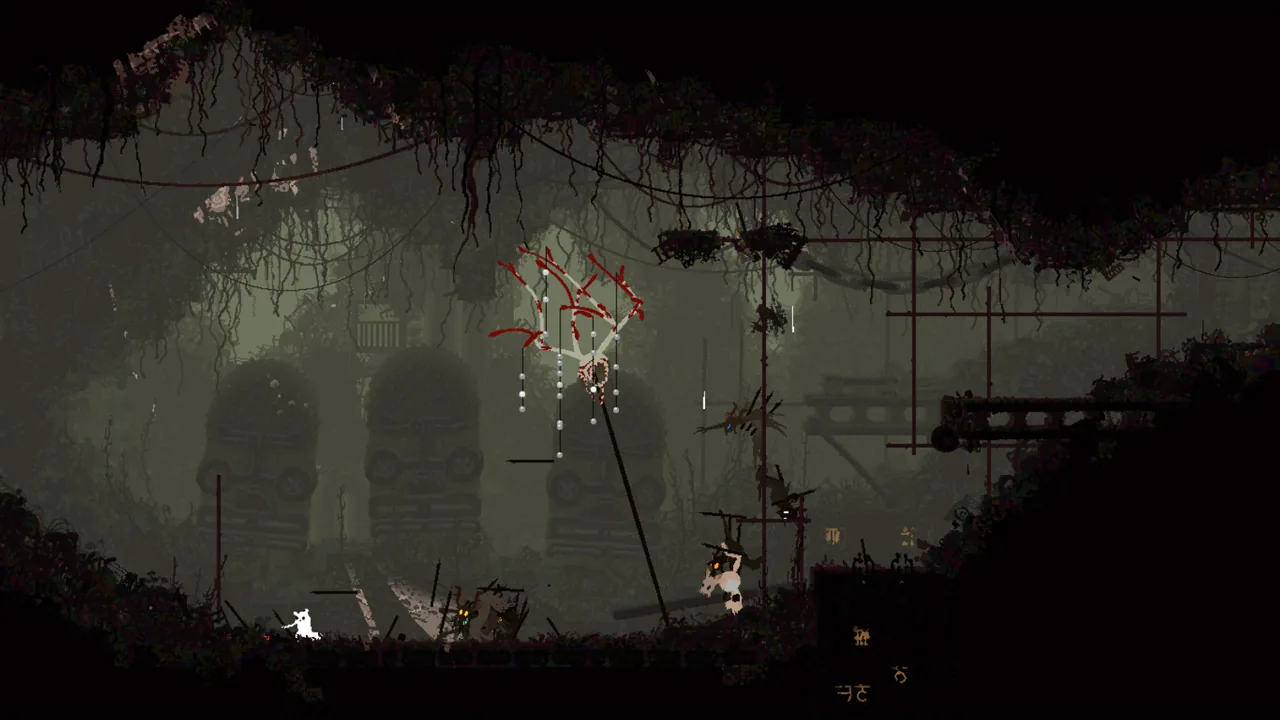
The Shaded Citadel map is most useful when you read it as a chain of safe decisions, not as a picture to memorize. Confirm which gate you entered, reveal enough rooms to orient the in-game map, locate a reachable shelter, and carry a dependable light source before dropping into the darkest lower routes. For the common Survivor or Monk story path, the practical objective is usually to cross from the Shoreline side through Shaded Citadel and Memory Crypts toward The Exterior. The live Rain World map supplies exact room geometry; this guide explains how to choose a route and survive the crossing.
Quick answer: how to use the Rain World Shaded Citadel map
For a first visit, do not enter a long dark branch until you know where the nearest shelter is and how you will see the next pipe or pole. A scavenger lantern is the most convenient portable option, while a Lantern Mouse can provide light at the cost of awkward carrying and reduced mobility. The map is easier to follow when you stop at each junction, check the revealed topology, and keep the last safe room as a retreat point.
If your goal is story progression after Shoreline, aim generally toward Memory Crypts and the connection onward to The Exterior. If you entered from Industrial Complex too early, low visibility and route uncertainty can make retreat the better decision. Shaded Citadel is interconnected, so an open gate is not proof that it is the best route for your current campaign or skill level.
Typical first-play route
Shoreline → secure light → Shaded Citadel shelter chain → Memory Crypts → The Leg / The Exterior
- First anchor: Record the entrance gate so the map is not read backward.
- Second anchor: Select a shelter reachable with imperfect movement, not only on a perfect run.
- Third anchor: Choose one exit objective before leaving the shelter.
- Fallback: Turn around when visibility, food, or cycle time no longer supports the next safe stop.
Choose the right Shaded Citadel route before the cycle starts
The correct line depends on where you came from and what you need next. Use the table as a decision aid, then verify the exact rooms and campaign layer on the interactive map. Route labels describe goals rather than a speedrun path, because creature positions, discoveries, and your remaining cycle time change every attempt.
| Route goal | Best when | Main risk | Practical plan |
|---|---|---|---|
| Shoreline to Memory Crypts | You are following the common first story route | Entering the lower route without light | Secure visibility and a shelter before committing eastward. |
| Industrial Complex to Shaded Citadel | You deliberately chose a darker alternative | Reaching the region before you are prepared | Keep the entrance as a retreat option until a shelter and light source are secured. |
| Local echo or pearl visit | You have a specific collectible target | Turning a short visit into a full crossing | Plan an out-and-back shelter line and protect enough karma for the goal. |
| Gourmand campaign start | You are learning the Downpour character | Heavy movement and food pressure | Use familiar rooms to stabilize before attempting a long route. |
| Memory Crypts to The Exterior | You are ready for the next major region | Miros Birds and exposed timing | Listen, use cover, and cross one safe interval at a time. |
Light sources change how the Shaded Citadel map feels
Darkness is a navigation mechanic, not only atmosphere. Without light, the map may show connected rooms while the player still cannot identify a pole, predator, or tunnel entrance quickly enough to act. A portable lantern lets you keep both orientation and mobility, which is why trading with scavengers is often safer than stealing from them. Protect the lantern until you leave the darkest rooms; dropping it for a tempting object can turn a known return route into a blind one.
Lantern Mice illuminate the area but are cumbersome to carry. They can be a workable emergency choice when the alternative is moving completely blind, but they make jumps and escapes less comfortable. Some character or story states provide other illumination, yet a first-time plan should not assume that help will appear. If the room is too dark to read safely, retreat to a known junction instead of spending the full cycle testing unseen edges.

Scavenger lantern
Portable and practical. Trade calmly and avoid provoking a group in a narrow room.
Lantern Mouse
Useful emergency light, but carrying one changes movement and escape options.
Map reveal
The in-game map records explored topology, but it does not replace visibility during a jump or threat check.
Retreat line
Keep one known room behind you so darkness never removes every safe choice.
Read the Shaded Citadel map by shelter, junction, and elevation
Begin with topology. Mark your entrance, the next shelter, the junction that separates the upper and lower choices, and the gate connected to your objective. A route that looks short can still be slow when it requires dark vertical rooms, repeated creature checks, or a difficult recovery after a missed jump. Compare routes by safe stopping points rather than by straight-line distance.
Reveal the map in small loops around a shelter. Explore one branch, return while the path is fresh, then extend the next cycle. This approach is slower on paper but avoids losing several cycles to the same confusing intersection. When using the external interactive map, select the correct Slugcat or campaign layer and match a distinctive room shape before assuming the route is identical to another campaign.
Map-reading checklist
Entrance gate → nearest shelter → recognizable junction → next shelter → objective gate
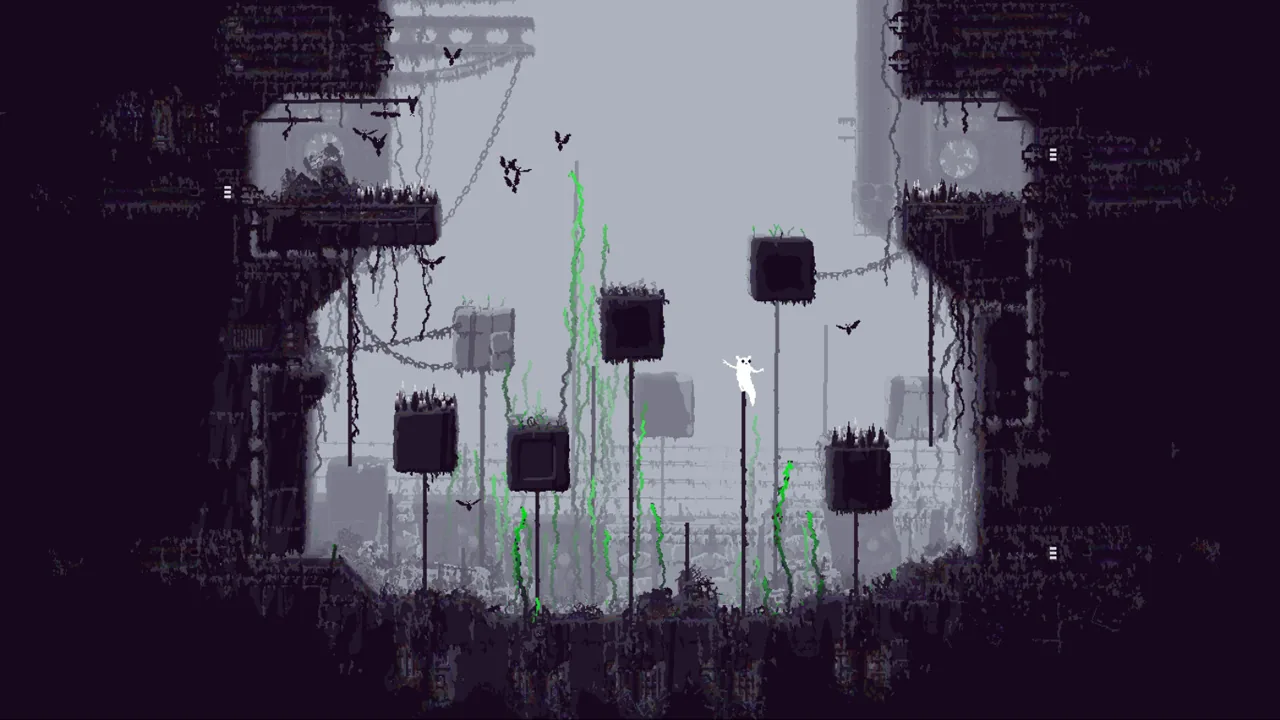
- Match room shape: Use pipes, platforms, and exits to confirm location before choosing a branch.
- Check elevation: A nearby room on the map may require a slow vertical crossing.
- Budget hesitation: Darkness makes every threat check longer, so leave more rain margin.
- Use the right layer: Downpour and campaign changes can make a familiar connection misleading.
Memory Crypts is a separate timing problem inside the route
Memory Crypts belongs in this guide because many Shaded Citadel searches are really asking how to reach or cross it. The subregion changes the problem from low visibility to exposed timing. Miros Birds are faster than Slugcat in open ground, so the reliable plan is to listen for their metallic approach, use tunnels or protected spaces, and move during the gap after a group passes. Trying to win a straight race across uneven terrain is much less consistent.
Flashbangs can create breathing room when a bird blocks the next safe cover. Spears may help with movement or emergencies, but ordinary combat is not the default plan; the cost of a mistake is high and the route already demands time. Memory Crypts is brighter than the deepest Citadel rooms, so decide deliberately whether carrying the lantern still outweighs another useful object. Keep enough cycle margin for the transition toward The Leg rather than treating the final screen as the end of the journey.
Crossing rhythm
Listen → wait under cover → let the group pass → move to the next cover → reassess
- Sound cue: Metallic movement warns of approaching Miros Birds before they enter view.
- Cover: Tunnels and protected spaces are timing checkpoints, not places to panic.
- Flashbang: Use it to create an escape window rather than to start a prolonged fight.
- Next region: Plan the onward shelter and The Exterior connection before the crossing begins.
Shaded Citadel entrances, exits, and route boundaries
Shaded Citadel connects several useful routes, but this page owns the region-crossing intent only. The full interactive Rain World map remains the correct target for room-level coordinates, while the progression guide explains whether Shaded Citadel belongs next in a whole-campaign route. Keeping those jobs separate prevents the new page from competing with the homepage for “rain world map” or with the progression article for “where to go next.”
Shoreline
The common first-play approach after the major Shoreline story visit. Arrive with enough food and a clear shelter target.
Industrial Complex
An alternate early connection that can place an underprepared player into darkness sooner than expected.
Garbage Wastes
A Downpour-era connection; verify the active campaign layer before planning around it.
Memory Crypts and The Exterior
The usual onward direction for the story route toward The Leg, Underhang, and Five Pebbles.
Campaign differences can change the safest Shaded Citadel map route
The region's identity stays dark and maze-like, but starting position, creature pressure, useful connections, and strategic value vary between campaigns. A route remembered from Survivor should be treated as a hypothesis when playing a Downpour Slugcat. Select the campaign layer first, then compare shelters and gates around the exact entrance you are using.
| Campaign | Why the region matters | Planning adjustment |
|---|---|---|
| Monk / Survivor | Common story crossing after Shoreline | Prioritize light, shelter discovery, and the Memory Crypts exit. |
| Hunter | A route decision under cycle pressure | Avoid exploration loops that do not advance the current objective. |
| Gourmand | The campaign begins in Shaded Citadel | Stabilize food and movement before committing to a distant gate. |
| Other Downpour Slugcats | Connections and threats can differ | Use the exact campaign layer and do not trust a base-game screenshot alone. |
Common Shaded Citadel navigation mistakes
Most repeated deaths come from combining several risks: no light, no shelter target, a late start, and an unverified campaign layer. Fixing one variable at a time turns the map into a useful planning tool instead of something checked only after getting lost.
- Entering from Industrial Complex by accident: An accessible gate can still be a poor first route; retreat is valid.
- Discarding light too early: Keep visibility until the remaining route is genuinely bright or familiar.
- Following distance alone: Dark vertical rooms can cost more time than a longer shelter-based line.
- Running from Miros Birds: Use sound and cover; open-ground racing is unreliable.
- Mixing campaign maps: Confirm the active Slugcat layer before trusting an exit or hazard pattern.
- Trying to complete the region in one cycle: Build map knowledge from a shelter in repeatable loops.
Shaded Citadel map FAQ
Official and route references
- Official game description and all three page images — Rain World on Steam
- Region connections, subregions, and creature context — Official Rain World Wiki: Shaded Citadel
- Room-level map layers and campaign comparison — Interactive Rain World Map
- Community crossing patterns and Memory Crypts tips — Steam Community guide
Last updated: July 25, 2026