
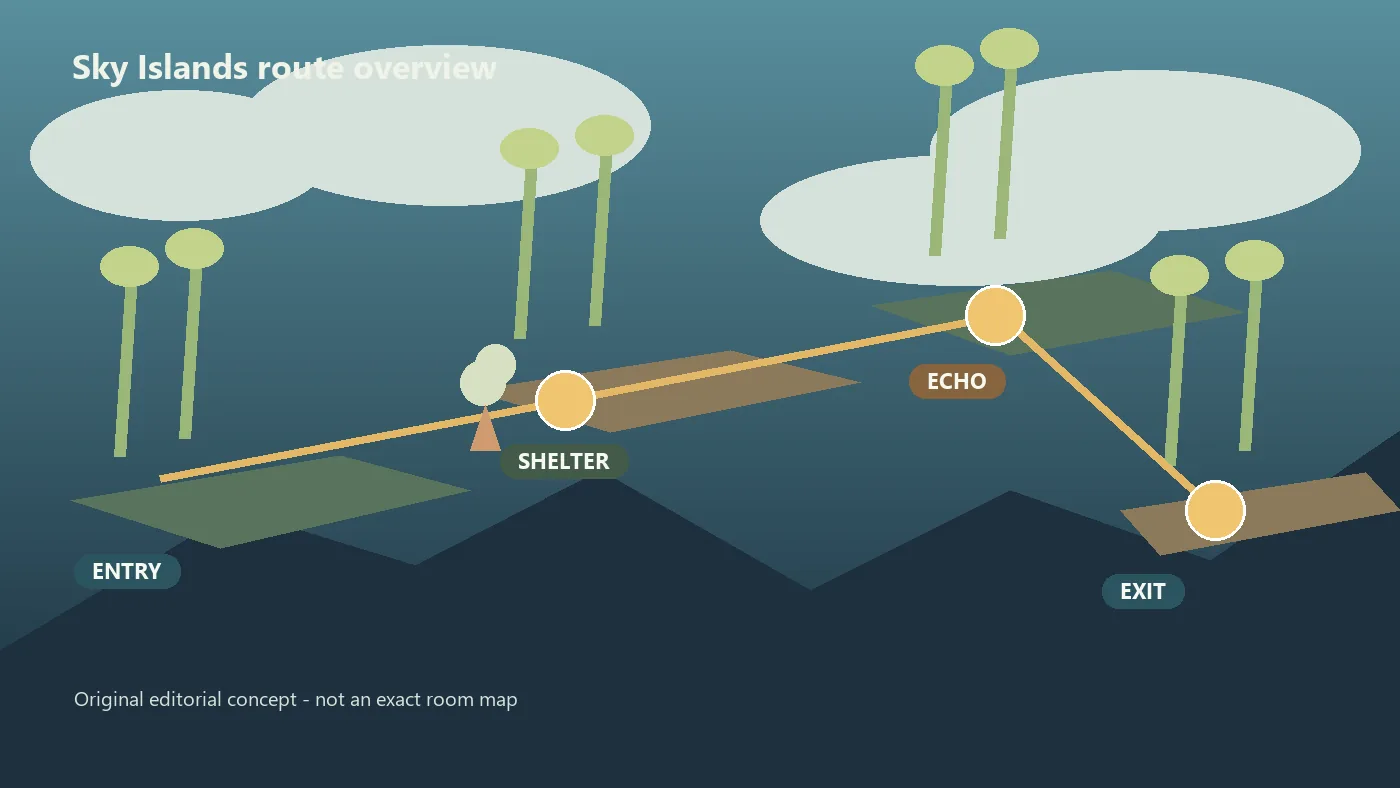
The Rain World Sky Islands map works best as a route-planning tool, not a picture to memorize. Sky Islands combines exposed platforms, vertical climbs, awkward landings, and dangerous returns. A short-looking line may still need a shelter, a careful climb, or an early turnaround. Use this spoiler-light workflow: identify the entrance, mark the next shelter, check the safest high connection, and keep a retreat visible. Campaign rules, slugcat abilities, and current karma can change the sensible branch.
What a Sky Islands map should answer
A useful regional map answers three questions before you move: where did I enter, where can I sleep, and which exit supports my objective? It also separates a worthwhile climb from a detour that leaves you above your last reliable shelter.
Route shape
See whether the next link is a climb, exposed traverse, or branch needing a return plan.
Recovery points
Reveal shelters first so a failed jump costs a cycle decision, not the whole route.
Objective fit
Compare the Echo, campaign goal, and exit without assuming every marker belongs to this run.
If you arrive through an open, low-visibility transition, compare the approach with the shelter-first logic in the Farm Arrays map guide .
Quick answer: the safest Sky Islands route logic
Start from the entrance that matches your campaign, reveal the nearest reliable shelter, and climb in short stages. At each high platform, check the next landing and a dry return before moving toward the Echo or exit. Several uncertain jumps without a shelter means scouting, not a committed crossing.
Route decision chain
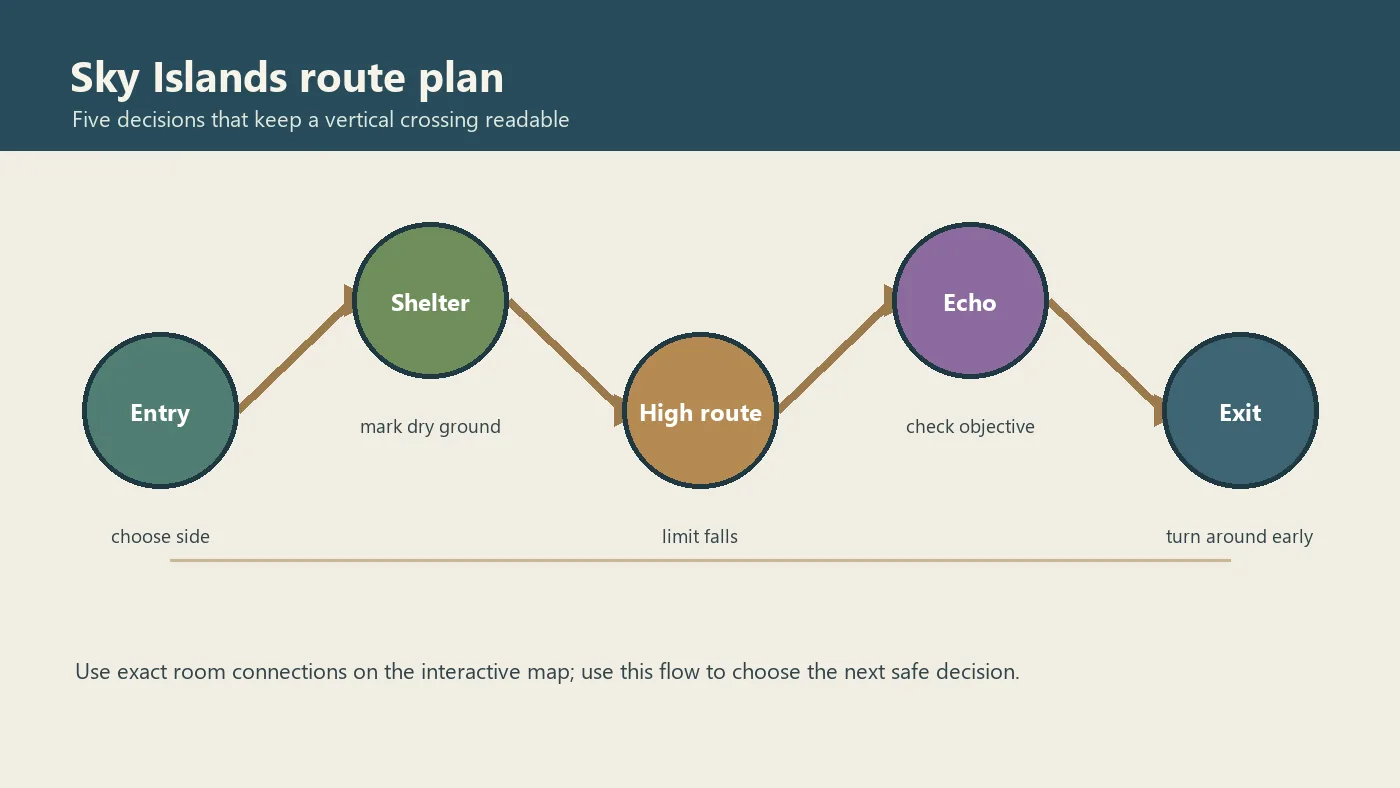
Entry → shelter → dry recovery → high connection → Echo or objective → exit / turnaround
This chain is less specific than a room-by-room walkthrough, so it works across Survivor, Monk, Hunter, Downpour, and exploration. Replace each stage with real rooms in the interactive map while keeping the decision order.
How to read a Rain World Sky Islands map
Open the regional view before leaving your shelter. Start with layers for shelters, gates, Echo markers, and the connections to your next objective. Add collectibles later; too many layers can hide a vertical route.
Read the map upward and backward. Up shows exposure and climbing; backward shows whether a mistake leaves a viable retreat. The best route preserves a place to sleep and a recognizable way back, not just the shortest line.
1. Mark the entrance
Confirm the transition you actually used.
2. Find the next shelter
Split the crossing into cycle-sized sections.
3. Trace the landing
Trace past the jump to see the next room.
4. Preserve the retreat
Keep one known route back until the goal is confirmed.
For exact room connections, open the Rain World interactive map after you choose the next decision.
Sky Islands entry-to-exit route plan
Use this as a checklist, not a promise that every campaign uses the same rooms. Build the route one verified connection at a time.
| Stage | Map check | Why it matters | Warning |
|---|---|---|---|
| Enter | Identify the transition and nearest shelter | Know your retreat side | Confirm the approach before a distant marker. |
| Stabilize | Reveal the next sleep point | Make a cycle-sized goal | An exposed platform is not recovery. |
| Climb | Trace the landing past the jump | See the next room | A landed jump may still have a bad return. |
| Cross | Check high connections and predator space | Choose the clearest fallback | Open traverses drain supplies. |
| Check | Open the Echo or objective layer | Confirm the marker fits the campaign | A marker is not proof the interaction is ready. |
| Exit | Compare the exit with your goal | Carry a next-region route | Turn around before losing your only retreat. |
Match the regional plan to your entrance and slugcat, then check the map's shelter and connection layers.
Shelters, falls, and vertical hazards
Sky Islands punishes distance-first routes. Before a difficult climb, identify the shelter to protect, dry ground for a reset, and the point where failure means leaving. That keeps the map useful before you know every room.
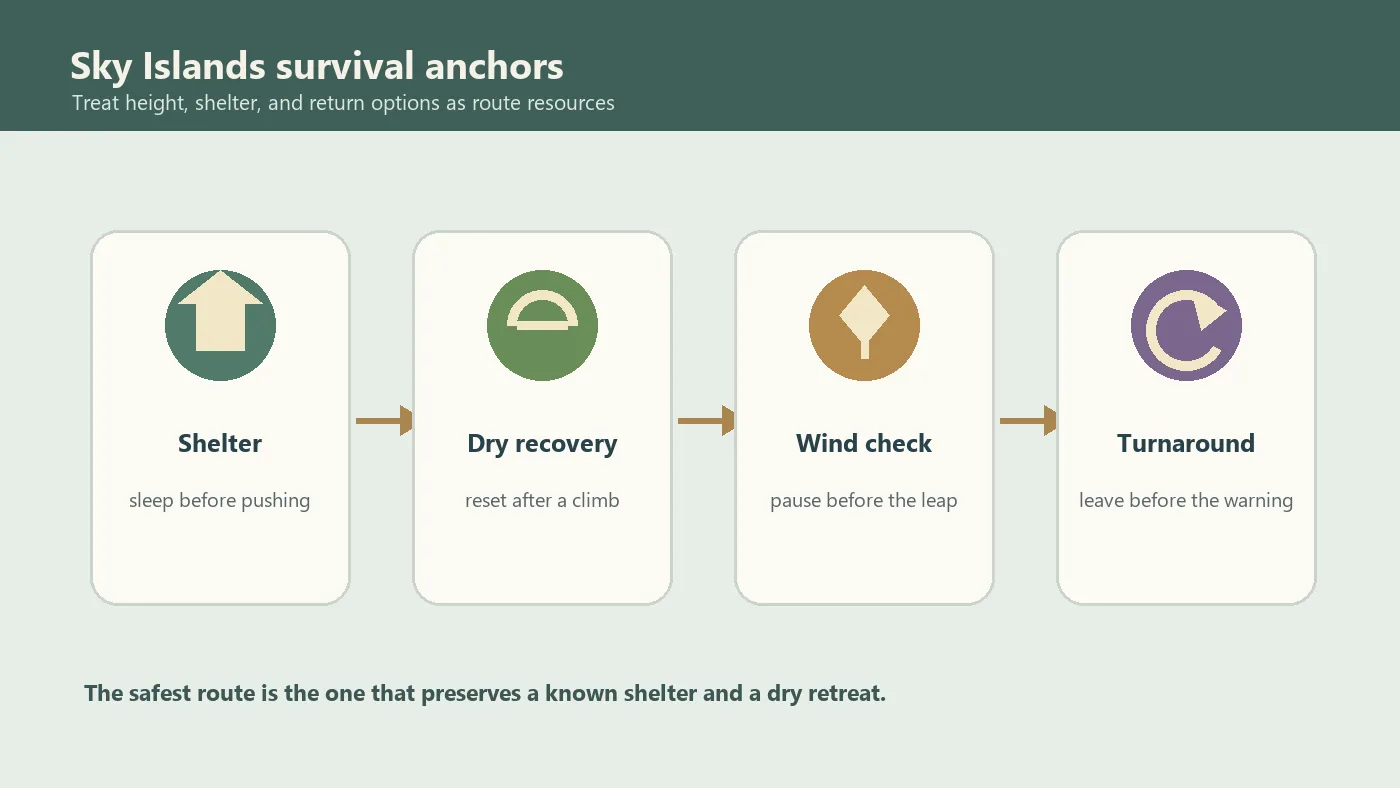
- Sleep before pushing: If several jumps are uncertain, use the closest known shelter instead of carrying a fragile route across cycles.
- Read landing space: Look beyond the next ledge; a landing with no second move or retreat may be worse than a longer link.
- Limit repeated falls: After one failed approach, change the angle, route, or objective. Repeating a blind jump spends cycles without information.
- Watch the open sky: Vultures and exposed platforms change timing. Keep a low-risk pause point visible before committing.
- Turn around early: A retreat preserves the shelter and the next attempt. Leaving early is route planning, not failure.
Record decisions, not just landmarks: next shelter, safe landing, and stop point. With those anchors, the region depends less on perfect movement.
How to check the Sky Islands Echo
The Sky Islands Echo is a useful map target, but not an exact-coordinate promise. The marker, approach, and interaction conditions can depend on the campaign. Use the map for the region and route, then verify the current run before a long climb.
- Confirm the campaign: Check Survivor/Monk, Hunter, Downpour, or another access pattern.
- Check the gate first: A marker does not replace karma and route requirements.
- Keep a return shelter: Visit the Echo with a recognizable retreat or an intentional one-way goal.
- Recheck after a flash: If it does not complete, recheck character, karma, and encounter state before repeating the approach.
Use the site's Echo guide for broader behavior; for Sky Islands, let current map layers and campaign state beat a memorized checklist.
Campaign and slugcat notes
No single Sky Islands route fits every slugcat. Use the campaign row to choose a priority, then confirm the room chain in the interactive map.
| Campaign | Route focus | Map rule |
|---|---|---|
| Survivor / Monk | Learn the shelter-to-shelter baseline | Prefer a clear retreat over a shortcut. |
| Hunter | Protect cycles | Enter with a shelter chain and backup objective. |
| Artificer | Manage combat and exposure | Choose room space before a high marker. |
| Gourmand | Balance food and route length | Prefer a safe reset over speed. |
| Rivulet / Saint / exploration | Adapt to abilities | Filter for accessible branches, not fixed order. |
Sky Islands may serve an Echo visit, a passage, a collectible detour, or a safe return. Name the objective before reading every branch.
Common Sky Islands map mistakes and recoveries
Most failed crossings start as planning errors. These recoveries keep the map useful.
- Chasing the highest marker: Return to the nearest shelter and identify the next landing; upward is not always progress.
- Hiding the shelter layer: Turn shelters back on. Without a sleep point, a route is only a possibility.
- Using a global checklist: Filter by campaign and objective before deciding an Echo or exit is ready.
- Repeating a failed jump: Scout from the other side, change the approach, or postpone it.
- Ignoring the way back: Trace a retreat first. If unclear, make the current shelter the objective.
Use the map for decisions, not memorization
A strong Rain World Sky Islands map guide does not replace movement practice or promise one perfect route. It gives a repeatable order: confirm the entrance, protect a shelter, verify each high connection, check the Echo or campaign goal, and leave while a retreat exists. This works across runs because it follows risk and information, not a fragile room list.
For exact rooms, open the interactive map and turn on only the layers for the next decision. Pair it with the progression guide for a larger route or the Farm Arrays guide for an open-ground approach.
Rain World Sky Islands map FAQ
References and map tools
- Interactive map source for room-level orientation - Open the interactive map source
- Community-maintained Sky Islands region reference - Read the Sky Islands reference
- Official Rain World product page - Visit the official Rain World page
Last updated: September 13, 2026