Garbage Wastes Rain World Map Guide: Routes, Shelters & Exits
A shelter-first route through Garbage Wastes, with practical map-reading tips for garbage worms, flooded crossings, scavengers, and the next region.

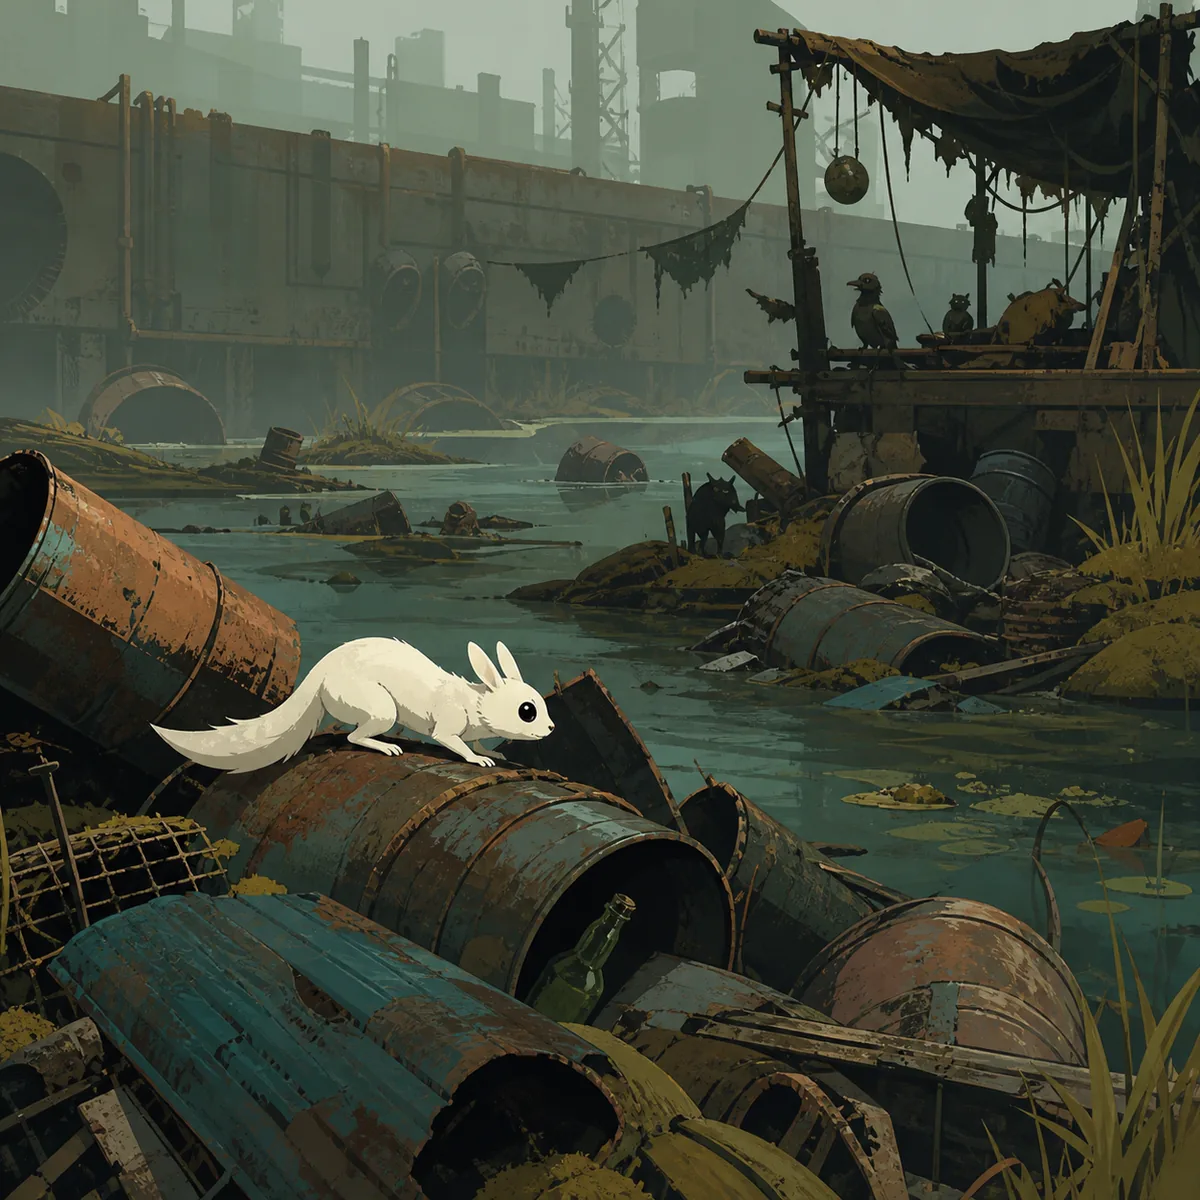
The Garbage Wastes Rain World map is useful because the region mixes open water, unstable junk platforms, narrow pipes, and several routes that look equally important at first. A good crossing is not the shortest line on the map. It is the line that gives you a dry recovery point, a realistic food plan, and an exit you can recognize before the rain cycle turns dangerous. This guide focuses on those decisions for Survivor, Monk, and compatible Downpour routes.
Quick Answer: How to Cross Garbage Wastes
For a first visit, enter from Industrial Complex, identify the nearest reliable shelter, then scout the water and junk platforms in short loops. Do not commit to a long crossing simply because the next region icon is visible. The safer rhythm is shelter, food, dry route, then exit confirmation.
If you are following the standard Survivor route, Garbage Wastes usually functions as a bridge toward Shoreline. Some campaigns and experienced routes use different connections, so the interactive map should confirm the gate and region label for your slugcat instead of assuming every campaign shares one path.
The practical priority order is: find a shelter, mark the safest dry approach, avoid unnecessary fights, cross water only when you know the recovery point, and leave with enough time to hibernate again. That approach answers most searches for where to go from Garbage Wastes without turning the guide into a spoiler-heavy room list.
Shelter-first route loop
Industrial Complex entrance -> first known shelter -> food loop -> dry crossing -> exit check -> next shelter
How to Read the Garbage Wastes Map
Start by separating the map into three questions: where did I enter, where can I safely sleep, and which exit matches my current objective? Garbage Wastes has enough visual clutter that a player can mistake a nearby pipe for a useful route even when it leads to an exposed platform or a dangerous water pocket.
Use shelter icons as the backbone of your plan. Then check water depth, creature markers, karma gates, and alternative pipes around each shelter. The map is most helpful when you zoom in only after choosing one short segment. Zooming out to the whole region is better for understanding exits, not for deciding every jump.
For spoiler-light play, hide lore and collectible layers until you need them. Keep shelters, gates, and region connections visible. This preserves the discovery of the region while still answering the practical map questions that cause most lost cycles.
Entrance
Confirm the Industrial Complex side before planning a west-to-east or water-side crossing.
Recovery
Choose a shelter that you can reach again, not merely the shelter closest to the destination.
Risk
Treat water, garbage worms, and exposed scavenger spaces as route costs, not decoration.
Exit
Check the next region label before spending the final part of a cycle on exploration.
From Industrial Complex into Garbage Wastes
The Industrial Complex entrance is a natural starting point for players using the standard route. Before crossing fully into Garbage Wastes, take a cycle to learn the first shelter approach and the direction of the next dry platform. This small investment prevents a common mistake: entering the region, finding a promising pipe, and then discovering that the return route is slower than expected.
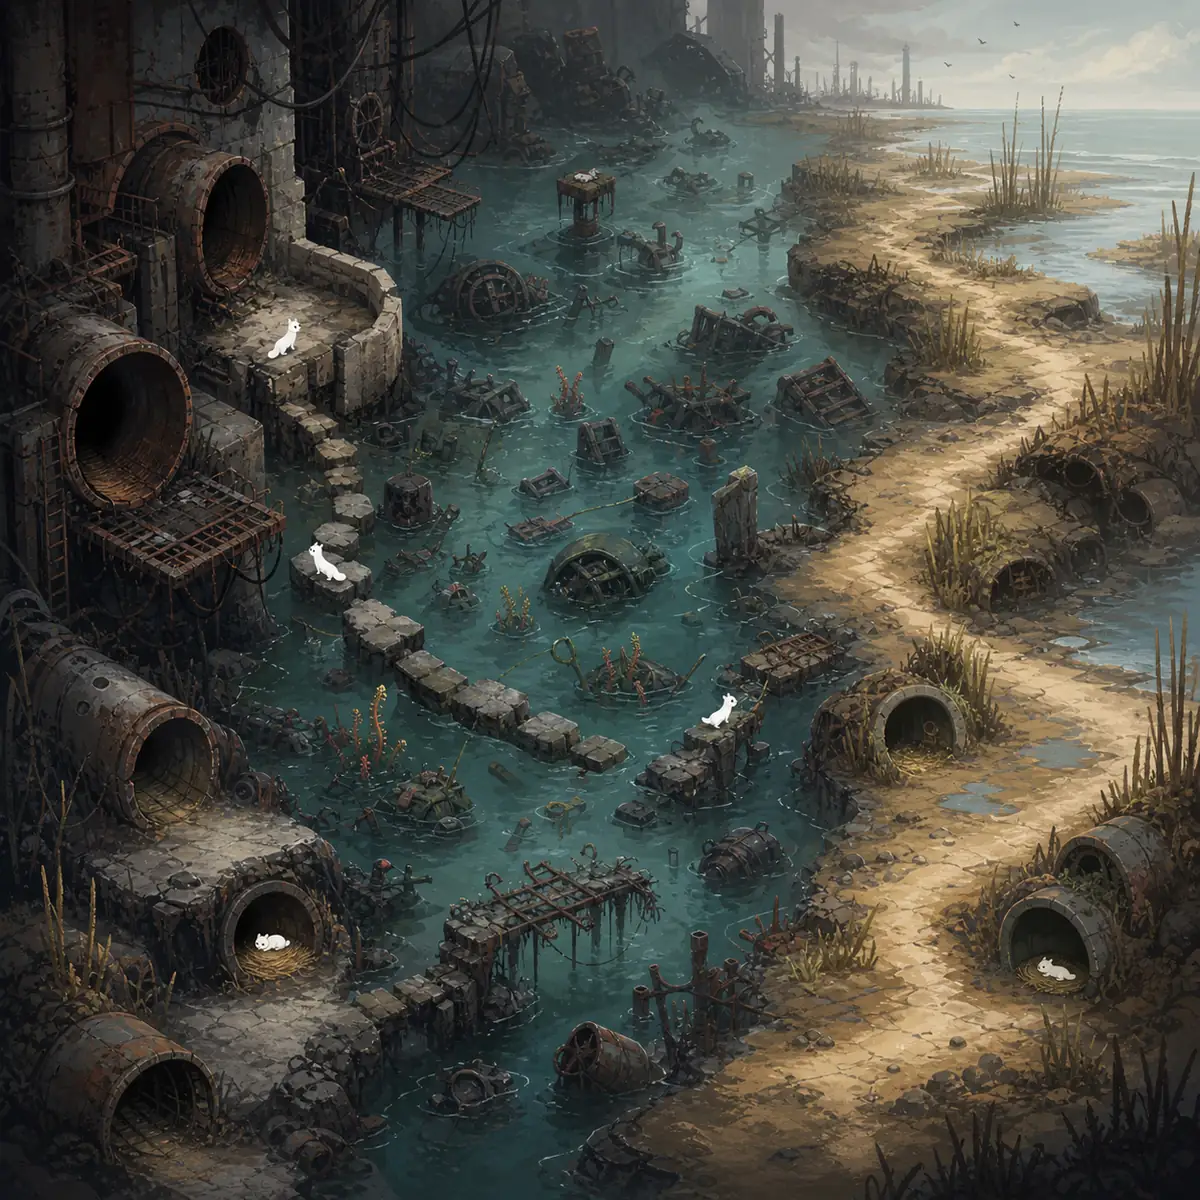
A map route is safer when each segment has a reason. The first segment should stabilize food and shelter access. The second should reveal the main water or junk crossing. The third should identify the exit side. If one segment contains too many unknowns, split it into a scouting cycle and a commitment cycle.
| Map question | What to check | Why it matters | Low-risk choice |
|---|---|---|---|
| Where did I enter? | Industrial Complex connection and nearest shelter | The same region looks different from each side | Return to the known pipe before exploring deeper |
| Can I cross now? | Water depth, dry platforms and food timing | A long swim can remove your recovery option | Scout the edges before taking the center line |
| Is this exit correct? | Next region label and gate marker | A visible pipe may lead away from your objective | Confirm the destination before the final sprint |
| What if the cycle is late? | Nearest shelter and safe retreat route | Rain pressure turns exploration into a gamble | Hibernate and use the next cycle for the exit |
Garbage Worms, Water & Vultures
Garbage Wastes is dangerous because several hazards overlap. Water can slow movement or hide a threat, garbage worms can punish careless crossings, and vultures can turn an exposed platform into a bad place to wait. The map cannot make those hazards harmless; it can help you avoid stacking them in the same cycle.
When a crossing includes deep water, look for a dry ledge or pipe that lets you recover before continuing. Carrying food or an object is not worth losing the entire route if the next safe ground is uncertain. Move through the region in short, repeatable lines so that a failed attempt teaches you the route instead of deleting your progress.
If you see a dangerous creature near the only obvious path, check for a higher pipe, a side platform, or a shelter-side detour. Fighting is often the least reliable form of navigation in Garbage Wastes. The goal is to preserve time, reputation, and escape options.

- Garbage worms: Do not assume a shallow-looking route is safe. Pause at the edge, identify the next dry point, and keep a retreat option.
- Water: Plan the entry and exit of a swim. A successful jump into water is not useful if the far bank cannot be reached before the cycle turns.
- Vultures: Avoid waiting in open sight lines when a nearby pipe or cover route can shorten the exposure window.
- Scavengers: Treat groups as a navigation constraint. Avoid careless spear throws, theft, and panic fights around crowded platforms.
Shelter-First Route Planning
A shelter is more than a save point in this region. It is the anchor that turns a confusing map into a repeatable loop. After finding one, learn one food route and one retreat route before pushing toward the next exit. If you cannot repeat the approach twice, you do not yet have a dependable route.
Use the map to compare shelter spacing rather than to chase the shortest distance. A longer route with two clear recovery points is usually better for a first run than a direct line across exposed junk and water. This is especially important when playing Monk or when returning to Garbage Wastes with a campaign-specific objective that changes the preferred exit.
- Cycle start: Leave the shelter with a food target and a clear decision about whether the cycle is for scouting or progress.
- Mid-cycle check: At the first unfamiliar crossing, ask whether the far side has a dry retreat. If not, turn the attempt into scouting.
- Late-cycle rule: Do not begin a long water crossing or a new creature encounter when the route back to shelter is already uncertain.
- Repeatability: A good Garbage Wastes route is one you can explain as three or four short segments, not one lucky jump sequence.
Choosing Shoreline, Shaded Citadel or Drainage System
The correct Garbage Wastes exit depends on the campaign and the objective, but the decision process is stable. First identify the region label on the map. Then compare the exit's gate requirement, shelter spacing, and the type of danger that follows. A route toward Shoreline may prioritize open water and aquatic movement; a route toward Shaded Citadel may prioritize darkness preparation; a Drainage System connection may trade open space for flooded pipes.
If you are following the general Survivor progression, Shoreline is the usual next-region question. If you are following a different slugcat or a deliberate detour, use the region-specific guide and the map layer together. Do not treat a broad progression guide as proof that every campaign should leave Garbage Wastes the same way.
| Possible direction | Prepare for | Use the map to check | Best for |
|---|---|---|---|
| Shoreline | Open water and aquatic route choices | Shelter before the region border and the correct shoreline connection | Standard first-playthrough progression |
| Shaded Citadel | Darkness and reduced visibility | Gate requirement, light-source plan and retreat shelter | Players deliberately taking the darker route |
| Drainage System | Flooded pipes and low-visibility crossings | Water route, shelter chain and campaign-specific access | Players who understand water movement or need a detour |
| Return to the previous region | Food and cycle recovery | Known shelter and safe backtracking pipe | Any run where the next exit is still too uncertain |
Using the Interactive Map Without Spoilers
Open the interactive Rain World Map when you have a concrete question: which region is this pipe connected to, where is the next shelter, or which exit matches my current goal? Start with shelters and region boundaries. Add karma gates and hazards only when they explain a decision you are about to make.
A useful spoiler-light workflow is to inspect one region at a time, hide lore layers, choose one shelter pair, and return to the game before opening the next zoom level. This keeps the map as a safety net instead of turning the whole campaign into a checklist. When you are lost, the answer is usually a smaller route decision rather than a need to memorize the entire world.
Garbage Wastes Map FAQ
References & Further Reading
- Region names and connections — Rain World Wiki: Garbage Wastes
- Broader region documentation — Rain World Wiki: Regions
- Official game context — Rain World on Steam
Updated: August 11, 2026