Rain World Drainage System Map Guide: Routes, Water and Shelters
A practical plan for crossing the flooded pipe network without turning every swim into a lost cycle.


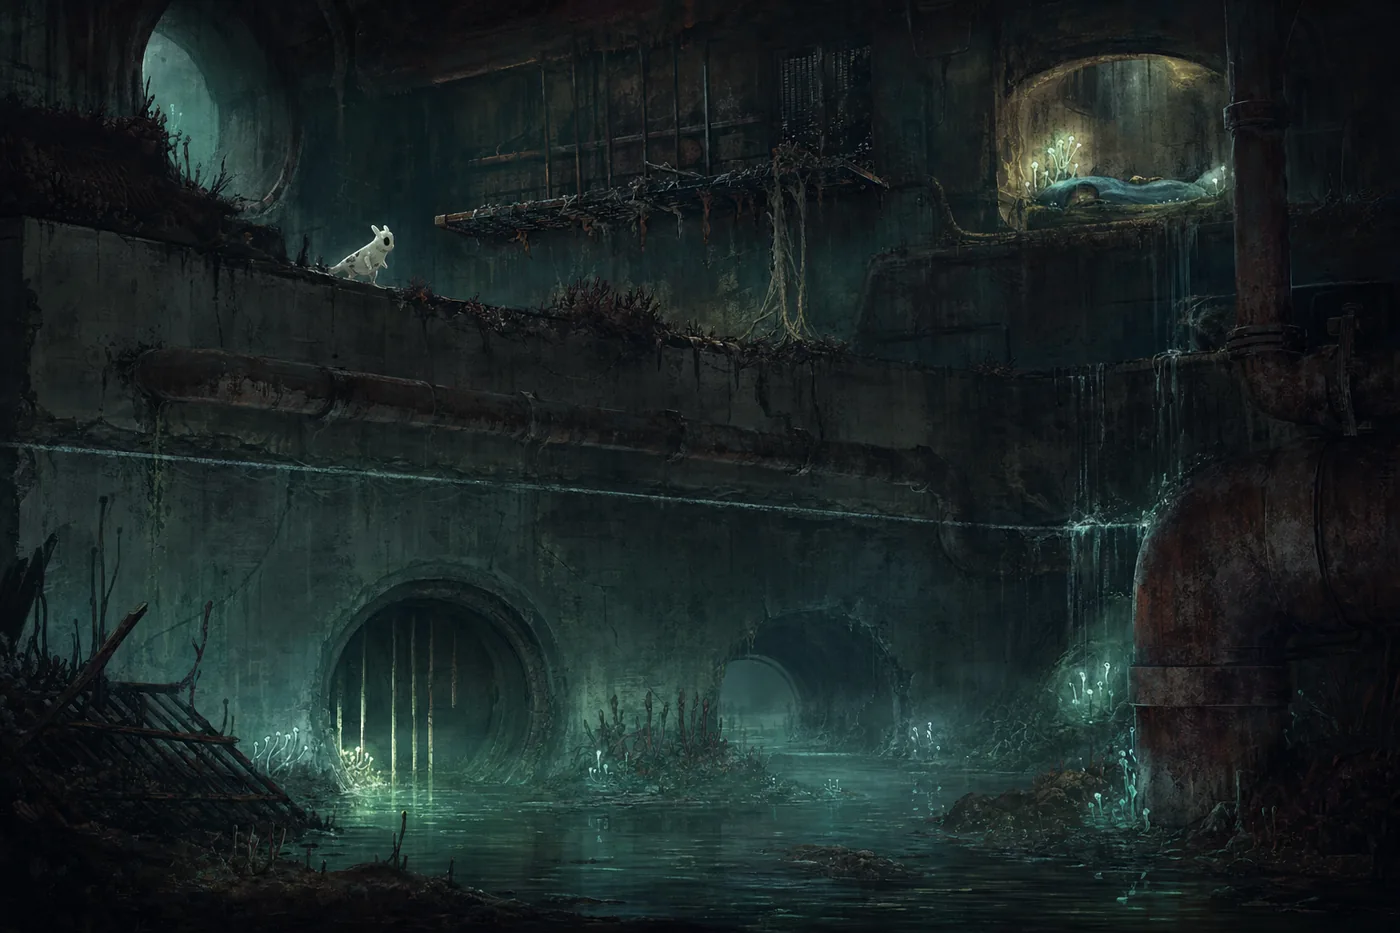
The Rain World Drainage System map is most useful as a shelter-to-shelter route plan, not a room-completion checklist. The region combines repetitive pipes, flooded chambers, narrow crawlspaces, vertical shafts, and exits that lead toward Outskirts, Garbage Wastes, or Subterranean. Before leaving a shelter, choose the destination, trace the dry recovery rooms, and note where a failed swim still leaves a retreat. Use the interactive map for exact room connections and this guide for the decisions that keep the route survivable.
Quick answer: the safest Drainage System crossing
For a first Survivor or Monk visit, enter with a clear destination and secure the closest practical shelter before attempting a long flooded sequence. Treat each deep-water room as a commitment: check the exit pipe, recover on dry ground, and avoid starting another swim when the cycle is already short.
If you only need progression, do not explore every lower branch. A route that looks short on the map can take longer when repeated dives, leeches, current, or missed pipe entrances interrupt movement. The reliable pattern is entrance gate, nearby shelter, one controlled water section, dry recovery, then the chosen regional exit.
Beginner route pattern
Entrance gate → nearest shelter → controlled swim → dry recovery room → selected exit
- Set the destination: Choose Outskirts, Garbage Wastes, or Subterranean before leaving shelter.
- Protect the return line: Remember the last dry room that still leads back to safety.
- Recover between swims: Do not chain underwater rooms when a dry pause is available.
- Respect the rain timer: Flooded routes become less forgiving when the warning has already started.
Choose the right Drainage System entrance and exit
Drainage System is not just a difficult side area; it is a regional connector. The best path depends on the campaign, your current karma, the gate you entered through, and whether you are progressing or collecting. Read the destination gate first, then work backward to the shelter you can realistically reach this cycle.
The Outskirts connection is the most familiar reference for many early runs. Garbage Wastes supports a broader early-game route, while Subterranean is a more demanding commitment that should not be treated as an accidental detour. Campaign layers can change access and creature pressure, so verify the active Slugcat on the map.
| Route | Best for | Main risk | Planning rule |
|---|---|---|---|
| Outskirts ↔ Drainage System | Early navigation or returning to a known region | Entering without enough food or karma | Secure a shelter before exploring lower water rooms. |
| Drainage System ↔ Garbage Wastes | Continuing an early regional route | Confusing connector rooms and losing the return line | Trace the gate and one fallback shelter before departure. |
| Drainage System ↔ Subterranean | Deliberate deeper progression | Long commitment and harsher recovery | Start early, carry food margin, and avoid optional branches. |
| Local exploration loop | Discovering rooms or collecting | Spending the whole cycle below the safe route | Set a turnaround point and return before the rain cue. |
Manage water, leeches, and drowning risk
The main threat is not water alone but the loss of control inside water. A wrong pipe entrance, a blocked surface, or a leech attachment can turn a comfortable breath budget into a failed crossing. Pause at the edge, identify the destination opening, and enter with a direct line instead of searching underwater.
Avoid wasting movement against walls or reversing repeatedly. If a room offers dry footing, use it to recover and reassess. Keep objects from interfering with narrow movement when possible, and do not assume that a familiar-looking chamber has the same exit geometry as the previous one.

Before entering
Locate the exit pipe and decide whether the room has a usable surface or dry ledge.
During the swim
Use deliberate movement and avoid exploring side openings on the same breath.
After surfacing
Recover fully, check the timer, and confirm the next safe room.
When leeches attach
Prioritize reaching a surface or exit rather than fighting for a perfect line.
How to read the Drainage System map without getting lost
Start with topology. Mark the current gate, the nearest shelter, the dry recovery rooms, and the final exit. Ignore optional branches until that backbone is clear. Repetitive pipe art is unreliable as a memory aid, but the order of shelter, shaft, flooded connector, and gate is easier to retain.
Plan by risk rather than visual distance. A short underwater shortcut may be worse than a longer route with air and safe footing. The interactive map reveals exact connections, but it cannot decide whether your current food, karma, cycle time, and movement confidence make a route sensible.
Four anchors
Current gate → fallback shelter → dry recovery point → destination gate
- Read pipe endpoints: Check where a connector actually opens before committing to a dive.
- Favor recovery rooms: Dry ground is a navigation resource, not wasted distance.
- Keep one fallback: A safe return path matters more than revealing another branch.
- Switch goals early: If food, karma, or time is insufficient, return before the route becomes irreversible.
Campaign differences that change the route
Drainage System should be checked on the correct campaign layer. Creature composition, accessible connections, room value, and the strategic reason for entering can differ between Slugcats. A path remembered from Survivor may be inefficient or unavailable for another campaign.
Monk and Survivor players usually benefit from conservative shelter planning. Hunter must value cycles more aggressively. Downpour campaigns may change how the region connects to the wider world, so use the matching layer rather than a base-game mental map.
| Campaign | Route priority | Practical advice |
|---|---|---|
| Monk / Survivor | Learn shelters and one dependable crossing | Choose safety over full exploration. |
| Hunter | Preserve cycles and avoid low-value detours | Enter only when the regional connection serves the run. |
| Downpour Slugcats | Verify campaign-specific geometry and purpose | Select the correct map layer before planning. |
| Exploration runs | Collect information without losing progress | Use a shelter-based loop and a strict turnaround time. |
Common Drainage System navigation mistakes
Most failures begin before the difficult room: the player enters without a destination, starts a deep route late in the cycle, or treats every branch as mandatory. A map solves those problems only when it is used to reduce decisions rather than increase them.
If a crossing repeatedly fails, shorten the objective. Reach one shelter, learn one flooded connector, or verify one gate. That creates reusable knowledge without risking the entire route each attempt.
- Entering without a route: Pick the exit first instead of improvising inside similar pipes.
- Diving to search: Identify the opening before entering deep water.
- Ignoring dry recovery: A longer air-safe route can be faster than repeated failed shortcuts.
- Using the wrong layer: Campaign-specific access and pressure can invalidate a remembered path.
- Staying after the warning: Commit to the nearest known shelter rather than another unknown branch.
Drainage System map FAQ
Map and media references
- Exact room connections and campaign layers — Rain World Interactive Map
- Community region background — Rain World Wiki: Drainage System
- Official game information and screenshots — Rain World on Steam
Last updated: July 30, 2026