Rain World Industrial Complex Map Guide: Routes, Gates and Shelters
A practical route plan for crossing the pipe maze without wasting a cycle on every branch.

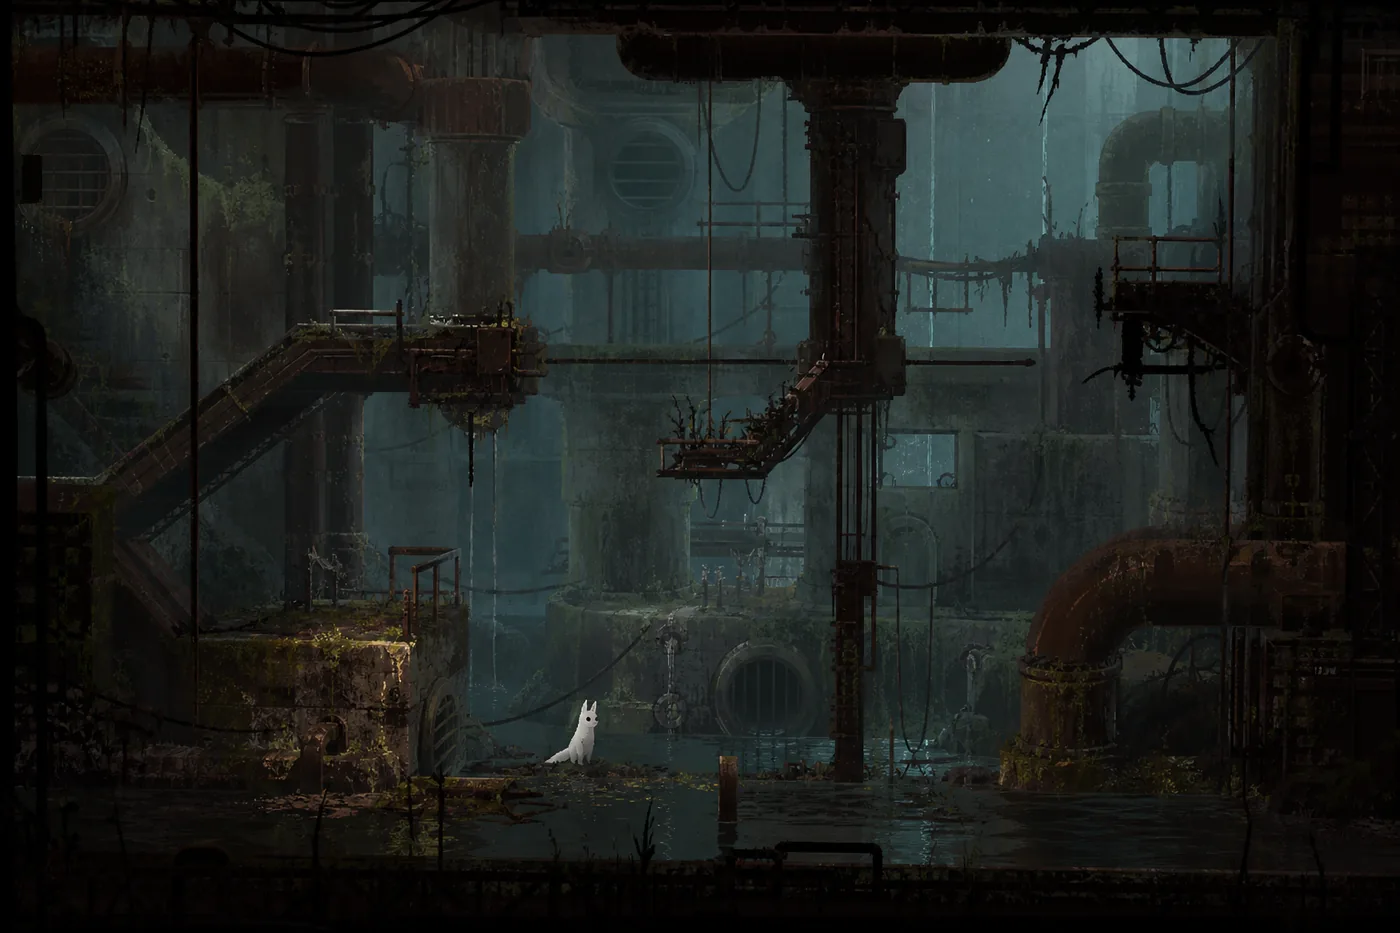
The Rain World Industrial Complex map is easier to use when you stop trying to memorize every room. First identify the entrance gate, the nearest shelter, the central junction, and the exit that matches your larger journey. Those four anchors turn repeated pipes and vertical shafts into a route decision. Keep the interactive map open for exact connections, then use this guide to decide what can be completed safely in the current cycle.
Quick answer: the safest first crossing
For a first Survivor or Monk run, enter from Outskirts, secure a nearby shelter, and move through the central industrial rooms before committing to an exit. Do not combine full exploration with progression in the same cycle; one attractive side branch can become a rain-timer problem.
Garbage Wastes fits common early progression, Chimney Canopy fits an intentional vertical route, and Shaded Citadel fits a prepared dark-region route. Gate requirements and useful rooms can vary by campaign, so select the correct map layer.
Beginner route pattern
Outskirts gate → nearby shelter → central pipe network → chosen exit gate
Choose one Industrial Complex route before leaving shelter
The best exit is the one that matches your goal, food, karma, and remaining cycle time—not the one that reveals the most rooms. Decide inside the shelter so every movement in the next cycle supports one direction.
| Route goal | Best when | Main risk | Recommended action |
|---|---|---|---|
| Outskirts to Garbage Wastes | First broad progression | Side branches consume time | Confirm a shelter, then favor the lower industrial route. |
| Outskirts to Chimney Canopy | You want access to upper regions | Open climbs punish hesitation | Start early and keep food margin for delays. |
| Industrial Complex to Shaded Citadel | You deliberately want the dark route | Low visibility | Prepare light support and confirm the next shelter. |
| Local exploration loop | You need pearls or map discovery | Losing the return line | Set a hard turnaround point before the rain warning. |
How to read the Industrial Complex map
Read topology before room art. Mark entrance, shelter, central junction, and exit. A vertical shaft may look close to the destination but cost more time than a longer horizontal corridor because climbing, predator checks, and missed transitions compound.
Trace only the rooms between the current shelter and the next safe stop. If a branch does not move you toward the exit or improve the fallback route, treat it as optional exploration.
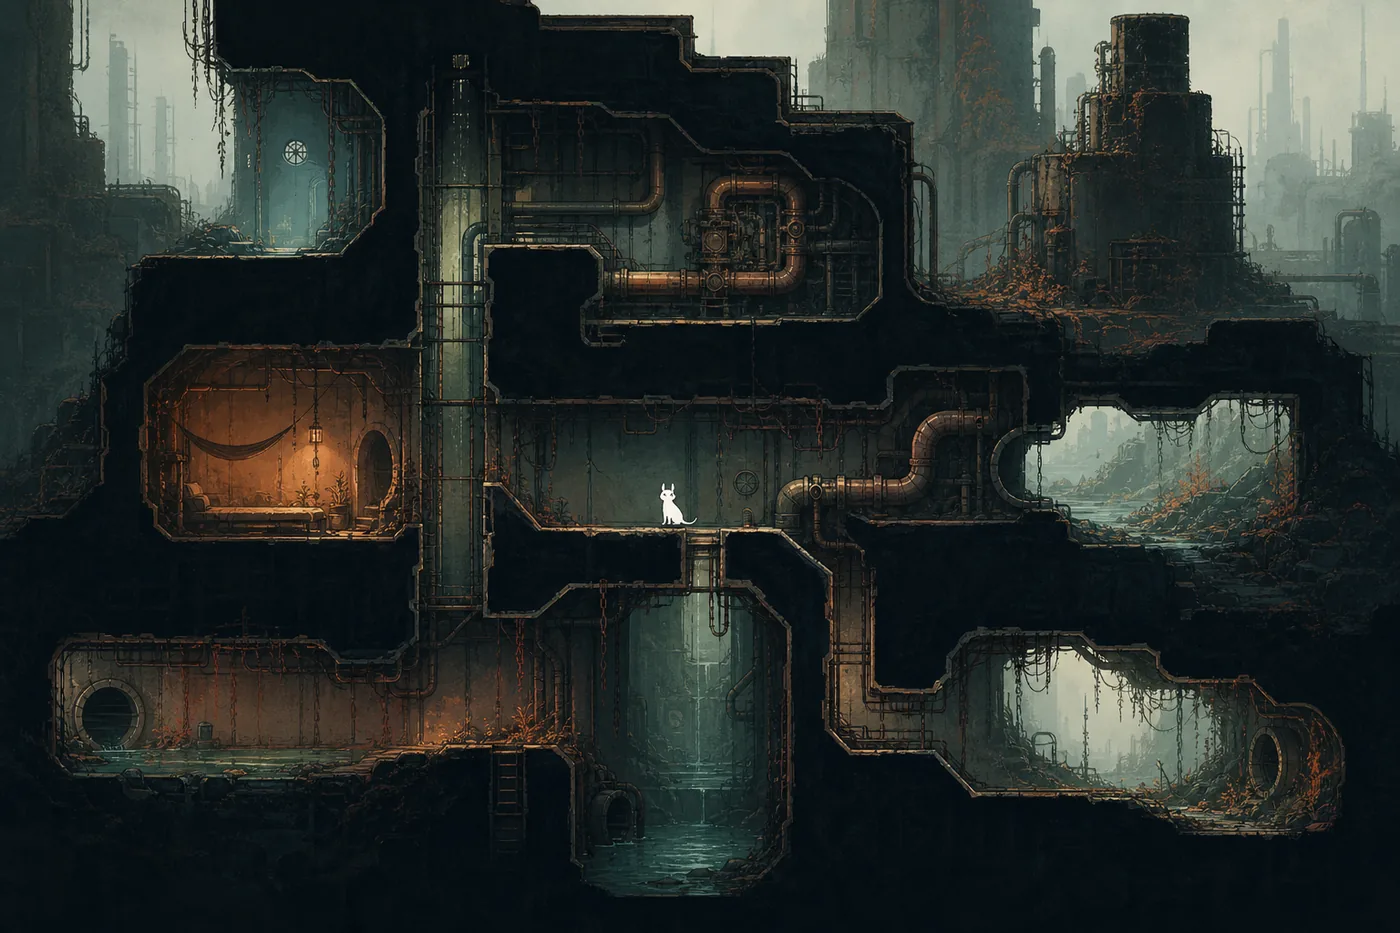
- Lock the entrance: Confirm the gate you just used so the map is not read backward.
- Mark a shelter: Choose a fallback before exploring uncertain branches.
- Find the junction: Recognize the pipe or shaft intersection that feeds several exits.
- Trace one exit: Do not switch goals after the rain warning begins.
Entrances and exits to recognize
Industrial Complex works as a hub. Treat every connection as a separate trip rather than trying to use every gate in one visit.
Outskirts
The familiar early entrance. Learn the first shelter line and central landmarks here.
Garbage Wastes
A common continuation for early progression; direction matters more than total map completion.
Chimney Canopy
A vertical and exposed connection that needs enough cycle time to recover from mistakes.
Shaded Citadel
A darkness-heavy route that rewards preparation, light, and a confirmed next shelter.
Hazards and shelter planning
Industrial Complex pressure comes from accumulated delay. Predators, scavenger encounters, pipe congestion, and vertical recovery may each cost only a little time, but several small delays are enough to miss a shelter. Plan for imperfect movement, not a speedrun line.
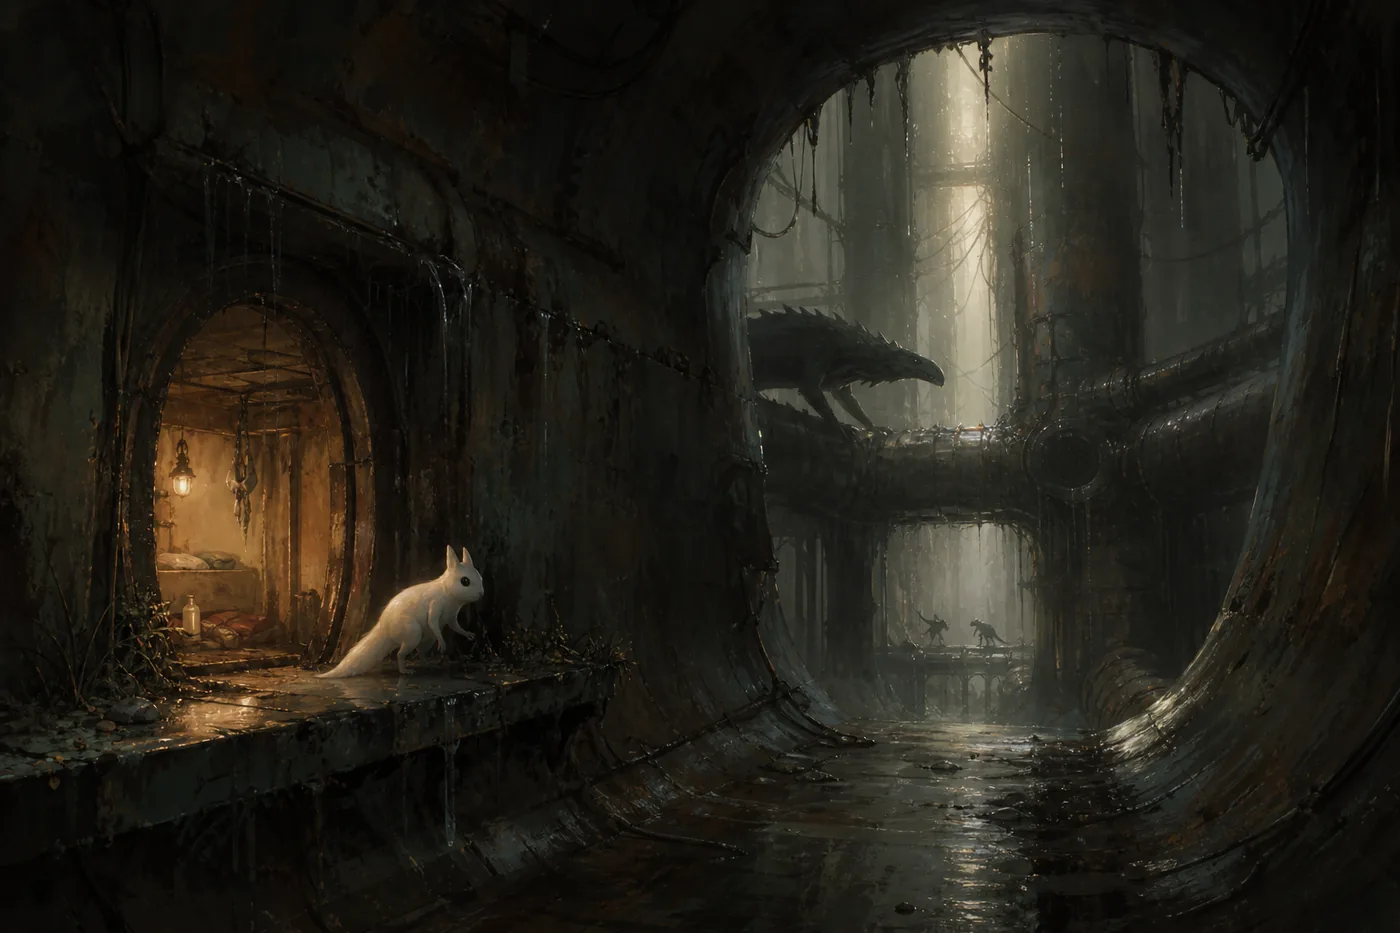
- Keep a retreat room: Remember the last room that was safe enough to wait in and reset creature positions.
- Respect scavenger space: Do not force a narrow passage when a group is already agitated.
- Budget vertical mistakes: Start climbs earlier than a flat route of similar map length.
- Stop exploring on warning: When the rain cue arrives, switch immediately to shelter routing.
How campaign differences change the route
The region keeps its industrial identity, but available paths, creature pressure, and strategic value vary across Slugcat campaigns. Always select the layer for the campaign you are playing.
| Campaign | Regional role | Route note |
|---|---|---|
| Monk / Survivor | Early navigation lesson and hub | Favor a clear shelter-to-shelter line. |
| Hunter | Time-sensitive transit region | Avoid low-value loops that spend a cycle. |
| Downpour Slugcats | Campaign-specific route value | Check the matching layer before trusting a familiar path. |
| The Watcher | Current campaign data required | Do not assume base-game connections are unchanged. |
Common Industrial Complex navigation mistakes
Most failed crossings come from changing the plan mid-cycle rather than from not knowing every room.
- Exploring every branch: The region is a hub, not a completion test.
- Choosing the exit too late: Decide at shelter so the whole cycle follows one direction.
- Reading distance instead of difficulty: A short vertical path can be riskier than a longer flat corridor.
- Ignoring the return line: Know which room leads back to the shelter route.
- Using the wrong campaign layer: Gate states and useful paths must match the active Slugcat.
Industrial Complex map FAQ
Map and region references
- Room connections and campaign layers — Interactive Rain World Map
- Community region background — Rain World Wiki
- Official game information — Rain World on Steam
Last updated: July 16, 2026