Rain World Echo Locations: A Practical Map and Route Guide
A spoiler-light route guide for finding the standard Echoes, planning karma, and knowing which campaign-specific markers you can safely ignore.


Table of Contents
Rain World Echo locations are easy to misread because the game does not present them as a normal collectible checklist. An Echo is tied to a particular region, a particular approach, and campaign rules that can change the route. The practical answer for a standard Survivor or Monk playthrough is to start with the six core regions listed below: Chimney Canopy, Sky Islands, Farm Arrays, Shaded Citadel, The Wall, and Subterranean. The exact order is flexible, but the safe order is not random: use the current karma gate, a known shelter, and the nearest reliable exit to decide which Echo to visit next.
This page separates the standard route from campaign-specific content. Saint, Artificer, Hunter, and Watcher can expose different Echo behavior or additional markers, so a marker visible on a global map is not automatically part of your current campaign.
Quick Answer: Which Rain World Echoes Should You Find?
For a normal Survivor or Monk route, use the six core Echo regions as your checklist, then verify the current map layer before committing to a long detour:
Standard Echo route
- Chimney Canopy and Sky Islands are the high, vertical options; practice safe climbing before chasing the marker.
- Farm Arrays is an open route with long sight lines and dangerous crossings, so plan the return shelter before entering.
- Shaded Citadel is the preparation check: bring a dependable light source or use the area guide before exploring deep rooms.
- The Wall and Subterranean are late-route choices for most new players; do not treat them as early detours just because the marker is visible.
In the standard rules, the first Echo can increase maximum karma more than later Echoes, while later visits usually require you to return at a suitable karma level. If the Echo only flashes blue and does not speak, check the campaign rule and revisit instead of assuming the location is broken.
How Echoes and Karma Work
Echoes are remnants of Rain World's earlier civilization. They are not ordinary enemies, shelter markers, or region exits. The important gameplay result is that meeting them can raise your maximum karma, which changes which gates and late-game routes are practical. That is why an Echo route should be planned together with shelter cycles rather than treated as a sightseeing loop.
A first visit may not be the final interaction. Survivor and Monk players commonly need to locate the Echo, see the initial blue flash, return after raising karma, and approach again under the correct condition. The first Echo and later Echoes do not always follow identical requirements, and Hunter, Saint, Artificer, and Watcher can alter the normal logic. Use the standard list here as a navigation baseline, not as a promise that every slugcat sees the same event.
The most useful rule is simple: if you have reached an Echo but the result does not match the guide, stop forcing the same room. Check the slugcat, current karma, whether you already triggered the first visit, and whether the marker belongs to a DLC campaign. That short diagnostic prevents a long and unnecessary backtrack.
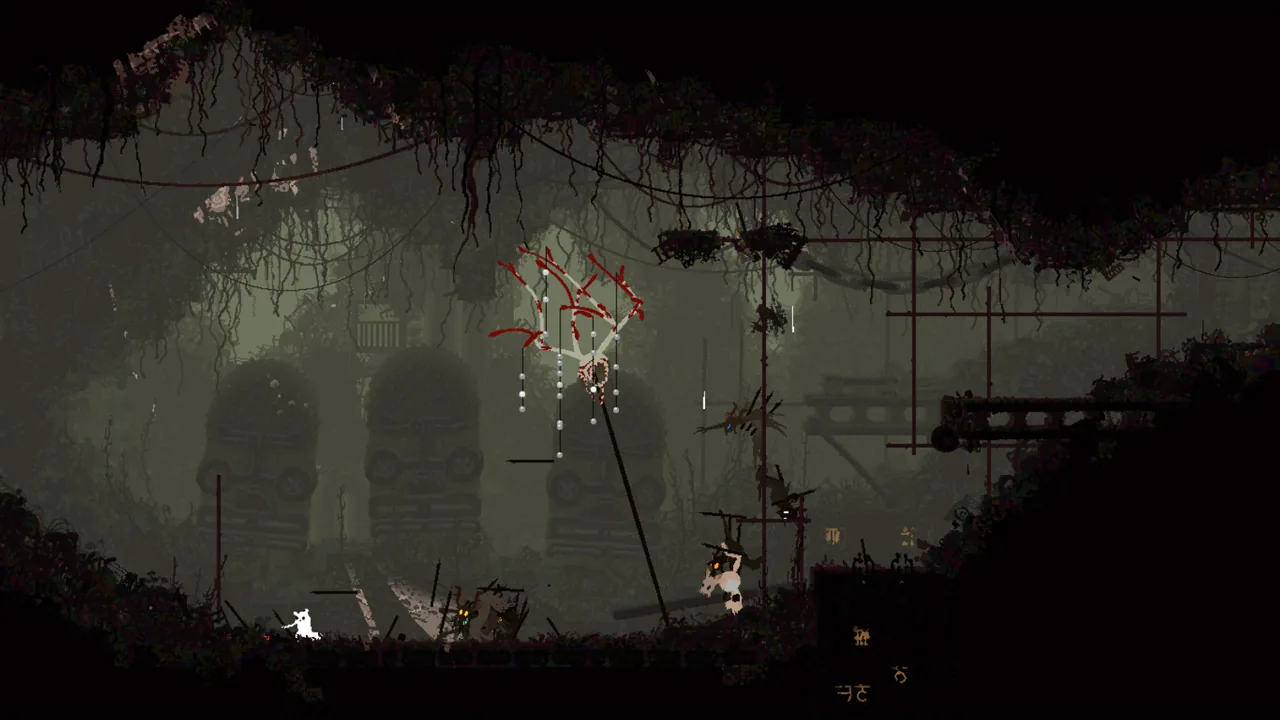
Standard Rain World Echo Locations
The table below is the practical Survivor/Monk baseline. It focuses on the region and the route decision, not on pretending that a single room code replaces learning the surrounding map. For exact room-level placement, open the Echo layer in the interactive map after you choose the region.
| # | Region | Approach | Karma check | Route plan | Why it matters |
|---|---|---|---|---|---|
| 1 | Chimney Canopy | Upper canopy route |
Check the gate first | Climb from Industrial Complex or approach from the upper connections | Use a shelter-to-shelter plan. Vultures and long vertical rooms make a blind sprint unreliable. |
| 2 | Sky Islands | High island route |
High route | Enter from the upper regional connections and keep a safe return path | A missed jump can cost the whole cycle. Scout the return line before chasing the Echo marker. |
| 3 | Farm Arrays | Open arrays route |
Gate-dependent | Use the Outskirts-side approach when it is safer for your campaign | Open ground is not safe ground. Watch long crossings, shelter distance, and the return trip. |
| 4 | Shaded Citadel | Dark interior route |
Gate-dependent | Prepare light, then use the regional map to avoid aimless loops | Light management is the main difficulty. Do not spend the whole cycle searching without a known exit. |
| 5 | The Wall | Vertical exterior route |
Late-game route | Reach it through the Exterior route after you understand long climbs | The Wall is a bad first target for a new player. Break the climb into shelter and food decisions. |
| 6 | Subterranean | Late descent route |
Late-game route | Plan from the Shoreline or Shaded Citadel side only when the descent is your goal | Subterranean is easy to enter and hard to leave. Treat the Echo as part of a full late-game route. |
Campaign-specific Echoes are intentionally separated below. If you are playing Saint, Artificer, Hunter, or Watcher, check the campaign note before using this table as a complete list.
Route Planning by Region
The best Echo route is the one that leaves you with a viable next shelter. A marker can look close on a global map while still requiring a dangerous vertical room, a water crossing, or a return through a region you have not learned. Before leaving a shelter, decide what success means for the cycle: reach the Echo, reveal the route, or simply learn the safe exit. All three are useful progress.
For a first playthrough, a gradual route through Farm Arrays, Shaded Citadel, Chimney Canopy, and the upper late-game regions is easier to manage than trying to collect every Echo in one sweep. If your current campaign already has a story objective in Shoreline or Five Pebbles, follow that objective first and treat a nearby Echo as an optional improvement to the route, not a mandatory detour.
Use the existing regional guides for the hard approaches. The Shaded Citadel page is more useful than a global Echo list when darkness is the real problem, and the Looks to the Moon route guide is more useful when your Shoreline decision determines what you do next.
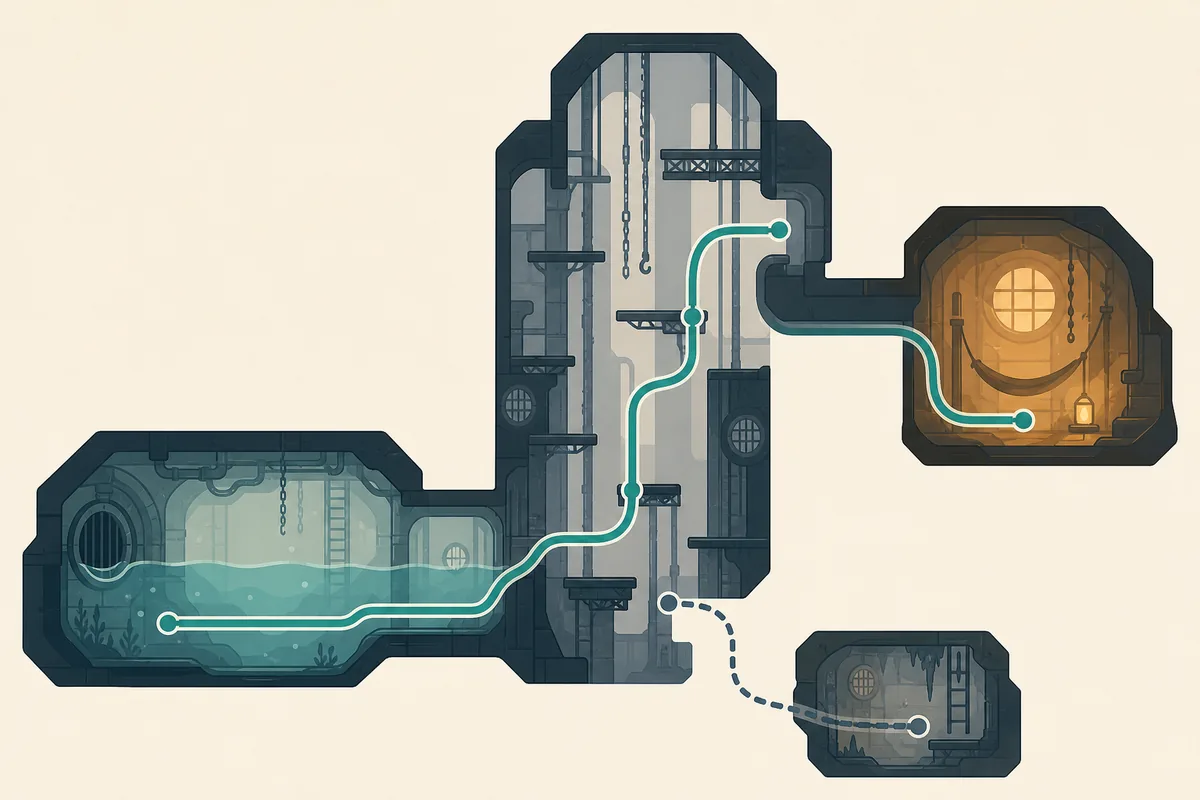
Check karma before the gate
A short look at the gate requirement can save a full cycle. If the required karma is out of reach, use a nearby shelter and choose a different region instead of forcing the crossing.
Plan the return before the approach
The Echo is only half the trip. Identify the food source, shelter, and exit you will use after the encounter, especially in Farm Arrays and Subterranean.
Use light as a route resource
In Shaded Citadel, a lantern or permanent light can be worth more than a fast route. Explore enough to know which rooms are dead ends before committing.
Do not confuse visibility with priority
A map marker that is visible from the start may belong to another campaign. Confirm the slugcat and version before making it the next objective.
Survivor, Monk, Hunter, Saint, and Downpour Notes
Survivor and Monk are the cleanest match for the standard six-region list. Monk is more forgiving, but the same habits still matter: learn food, shelter, and exits before making a long Echo detour. Survivor players should be more conservative after a death because losing karma can turn a previously open gate into a forced backtrack.
Downpour changes the context. Hunter has a compressed schedule and can treat some Echo trips as optional if another route solves the immediate goal. Saint has campaign-specific Echo content, including a Shoreline marker that should not be used as a normal Survivor checklist item. Artificer and Watcher also expose campaign-specific placements or behaviors, so a global map can contain a marker that is valid for a different slugcat.
The safest way to handle DLC is to use the campaign filter in the interactive map, then read the matching character guide. This avoids mixing a vanilla route with a Downpour objective and keeps spoilers under control.
- Standard Survivor/Monk baseline: use the six core regions in the table, then confirm current karma and the next shelter.
- Hunter: prioritize cycle efficiency and do not assume every Echo detour pays back its travel time.
- Saint: treat Shoreline and other special markers as campaign-specific content rather than adding them to the vanilla checklist.
- Artificer and Watcher: use the campaign filter and guide because Echo requirements and placements can differ from the standard route.
How to Use the Rain World Interactive Map
The interactive map is most useful after you have chosen a region and a realistic cycle goal. Start broad, then turn on only the layers that answer the next decision. Looking at every icon at once makes a difficult game feel noisier and can hide the route you actually need.
For an Echo trip, use the map in this order: choose the campaign, open the region, enable Echoes, inspect nearby shelters, then check the gate and exits. If the route crosses Shaded Citadel or Subterranean, also inspect light, water, and shelter information before leaving your current room.
- Choose the slugcat: Filter for Survivor, Monk, Hunter, Saint, Artificer, or Watcher before trusting the visible Echo markers.
- Open the target region: Read the local connections first. A regional exit is more useful than a straight-line distance to the marker.
- Enable Echoes and shelters: Pair the objective marker with a food and shelter plan so a failed attempt still leaves you in a recoverable position.
- Check the return route: Trace the exit you will use after the Echo. This is where many apparently short trips become multi-cycle detours.
What to Do When an Echo Is Missing
Most missing-Echo problems are routing or condition problems, not broken saves. First confirm that you are in the correct campaign and that the region belongs to the standard list. Then check whether you already triggered the first visit. A blue flash without dialogue can mean that you need to return at the correct karma, not that the marker is wrong.
If the Echo still does not appear, retreat to a known shelter and choose a smaller test. Visit the region entrance, identify the nearest food source, and verify the intended approach from the map. This turns an uncertain hunt into three observable checks and protects the rest of your cycle.
The marker is visible but the room is empty
Check the slugcat filter, revisit condition, and whether you already saw the first blue flash. Do not immediately assume the map is wrong.
The route is blocked by a karma gate
Use a nearby Echo or a safer region to rebuild karma, or read the relevant progression guide before committing to a long alternate route.
You reached the Echo but cannot return
Treat the next shelter as the real objective. In Subterranean and the Wall, a successful encounter without a return plan can still become a lost cycle.
A DLC marker does not match your run
Switch the map to the current campaign and ignore character-specific markers until the page or guide confirms that they apply.
Common Echo-Hunting Mistakes
- Treating the broad phrase “Rain World Echoes” as a single universal checklist when campaign rules change the locations and conditions.
- Assuming the first visit always grants the full karma result. The first flash and the later interaction can be separate steps.
- Entering Shaded Citadel without a light plan, then spending multiple cycles searching rooms that cannot be read safely.
- Using a global map marker without checking the slugcat filter, especially for Saint, Artificer, and Watcher content.
- Planning the approach but not the return. Food, shelter, and exits are part of the Echo route, not optional extras.
- Ignoring the existing region guide because the Echo appears close on the world map. Local hazards usually decide whether the trip is practical.
A Safer Rain World Echo Route
The practical answer to “where are the Rain World Echo locations?” is not a single shortest path. Use the six standard regions as your Survivor/Monk baseline, then choose the next Echo by karma, shelter access, light, food, and the route you will take afterward. This keeps the guide useful without flattening Rain World's campaign differences.
When a marker does not behave as expected, check the campaign and revisit condition before backtracking across the entire world. The interactive map can show the exact local position, while the regional guides explain whether reaching it is actually a good use of the current cycle.
Rain World Echo Locations FAQ
Sources and route context
The standard list and campaign caveats were cross-checked against the Rain World community wiki, community route discussions, and the existing map resources used on this site. Community pages are references, not official developer documentation.
- Echo definitions, dialogue names, and campaign-specific notes — Rain World Wiki: Echo
- Community discussion of the standard six-region Echo baseline — Reddit: Echo locations discussion
- First-party-style map reference used for local route checking — Rain World Interactive Map
- Campaign guide context for Watcher-specific Echo behavior — Steam Community guide
About the author
Maya Chen
Maya Chen writes practical Rain World guides about regional connections, karma planning, and campaign-specific routing. Her goal is to give players a useful next decision without turning exploration into a checklist of every room.
Last updated: August 18, 2026